Custom fields provide a flexible way to add additional data fields to employee profiles. You can define and configure custom fields to store any relevant information specific to your organization. This customization enables you to effectively track and manage key data points for each employee.
Do you need to order corporate t-shirts but don't know the sizes of your employees? Would you like to know if any of your employees are allergic to lactose? Would it be necessary to know what languages your employees speak? Here's how you can create custom fields dedicated to collecting this data.
Where to find custom fields
- On your sidebar, go to Settings
- In General, click on Customisation
- Scroll down to the Custom fields section

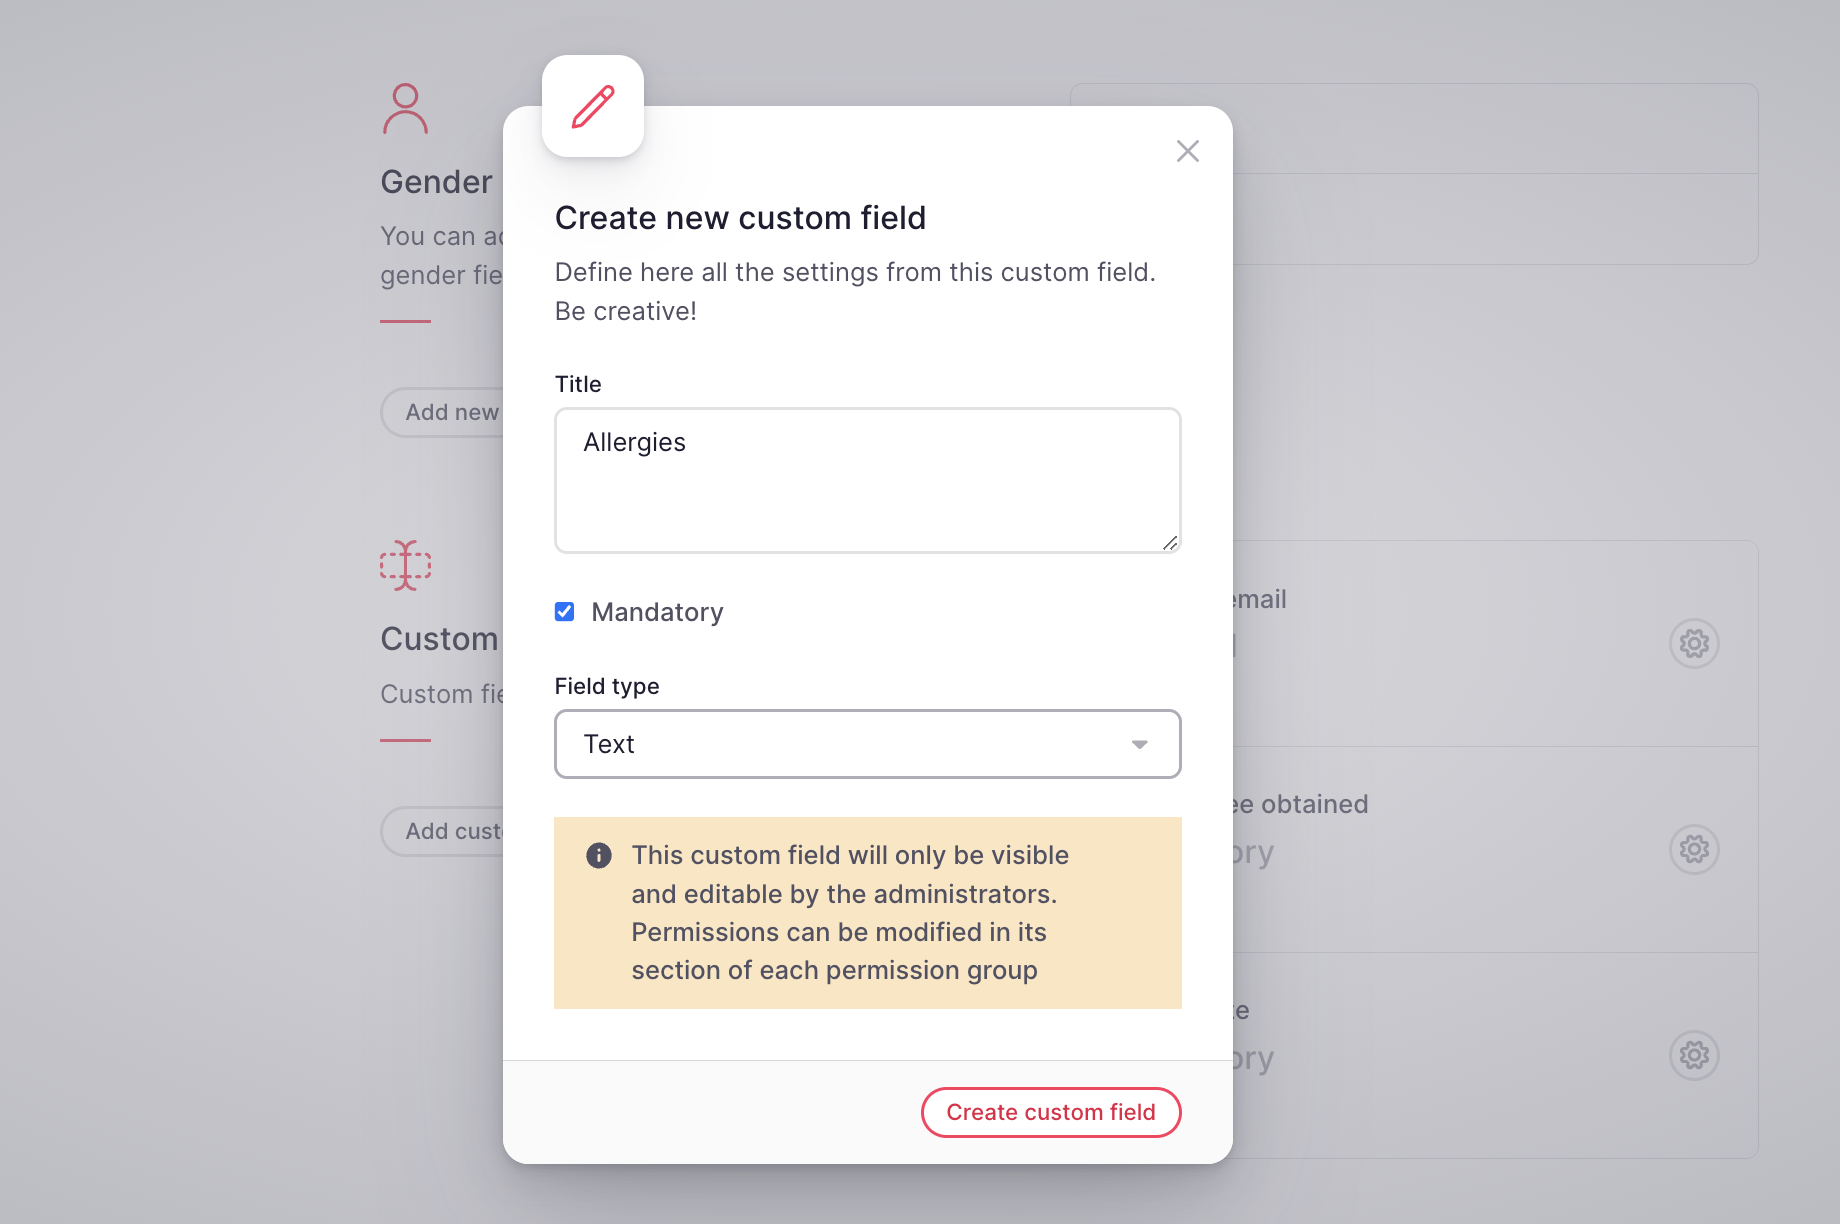
How to add custom fields
- Click on Add custom field
- Enter a Title
- Define if the field is mandatory or not
- Choose the Field type:
- Text
- Long text
- Date
- Number
- Single choice
- Click on Create custom field
To duplicate, edit or delete a custom field, click on the gear icon and select the option.

Custom fields created will be visible in the employee's profile:
- On your sidebar, go to Organisation
- Select an employee and click on Work details
- Scroll down and you will find the Custom fields section

How to import custom fields in bulk
- On your sidebar, go to Organisation
- Click on the Export data
- Download template

- Click on (…) and select Import data to tables
- Upload the file
- Click on Import file


Custom fields permissions
Administrators have exclusive visibility and editing rights for each custom fields. You can modify the permissions for each field within the respective section of each permission group:
- On your sidebar, go to Settings
- In General, select Permissions
- Open the Permission group
- Select Custom fields
- Enable the permission
- Click on Save changes
