Custom workflow
- In the sidebar, click on Workflows
- Click on Custom Workflow
- Click on + New workflow
- Enter a Workflow Name and a Description
- Choose the category : Personalized, Onboarding or Offboarding
- Click on Create

How to add a step
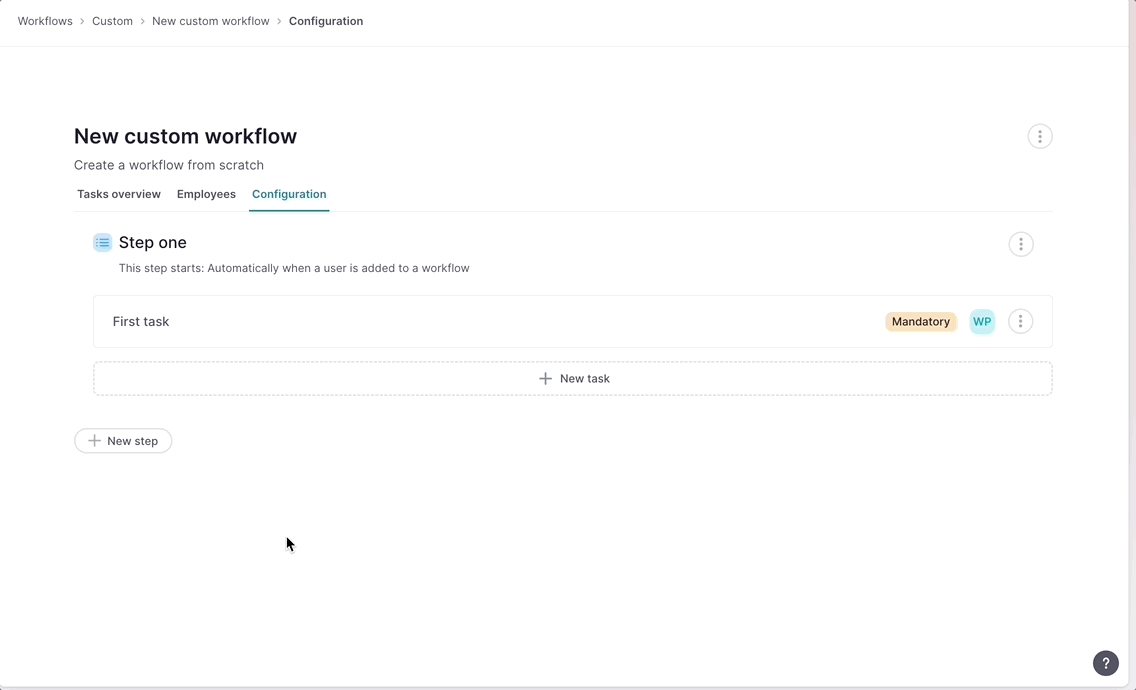
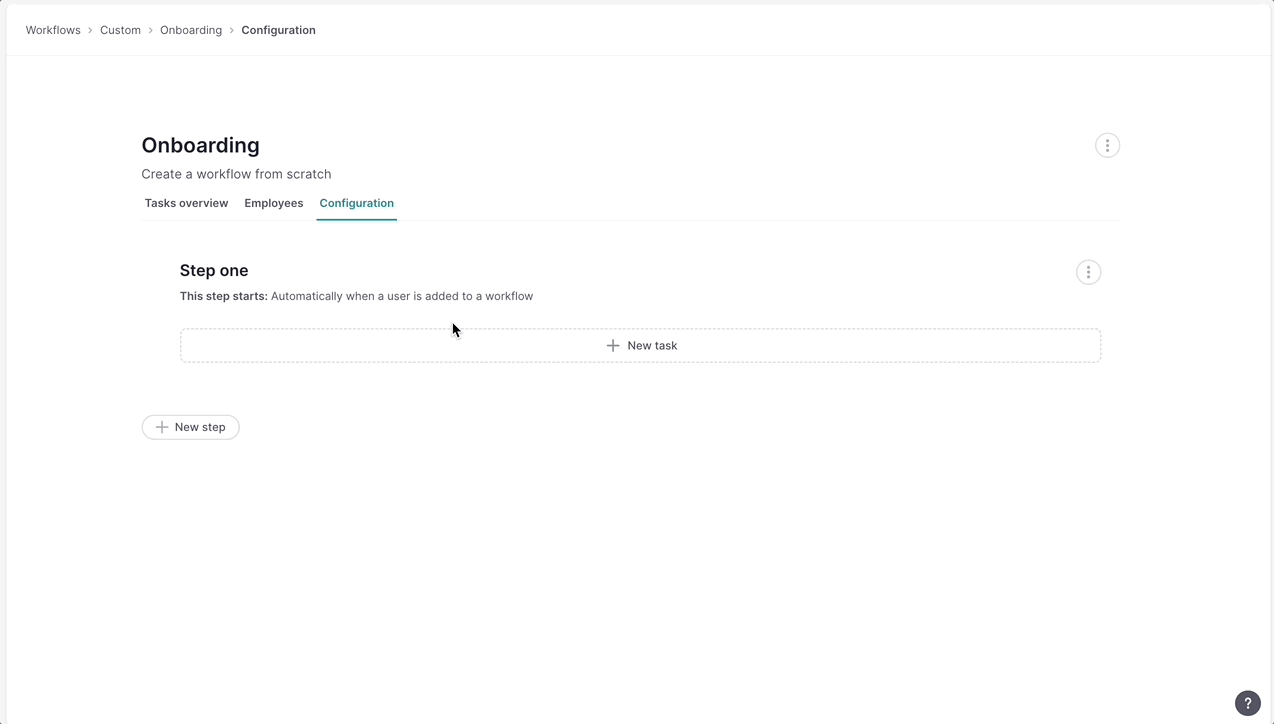
- From the Configuration page, click on + New step
- Enter a Name
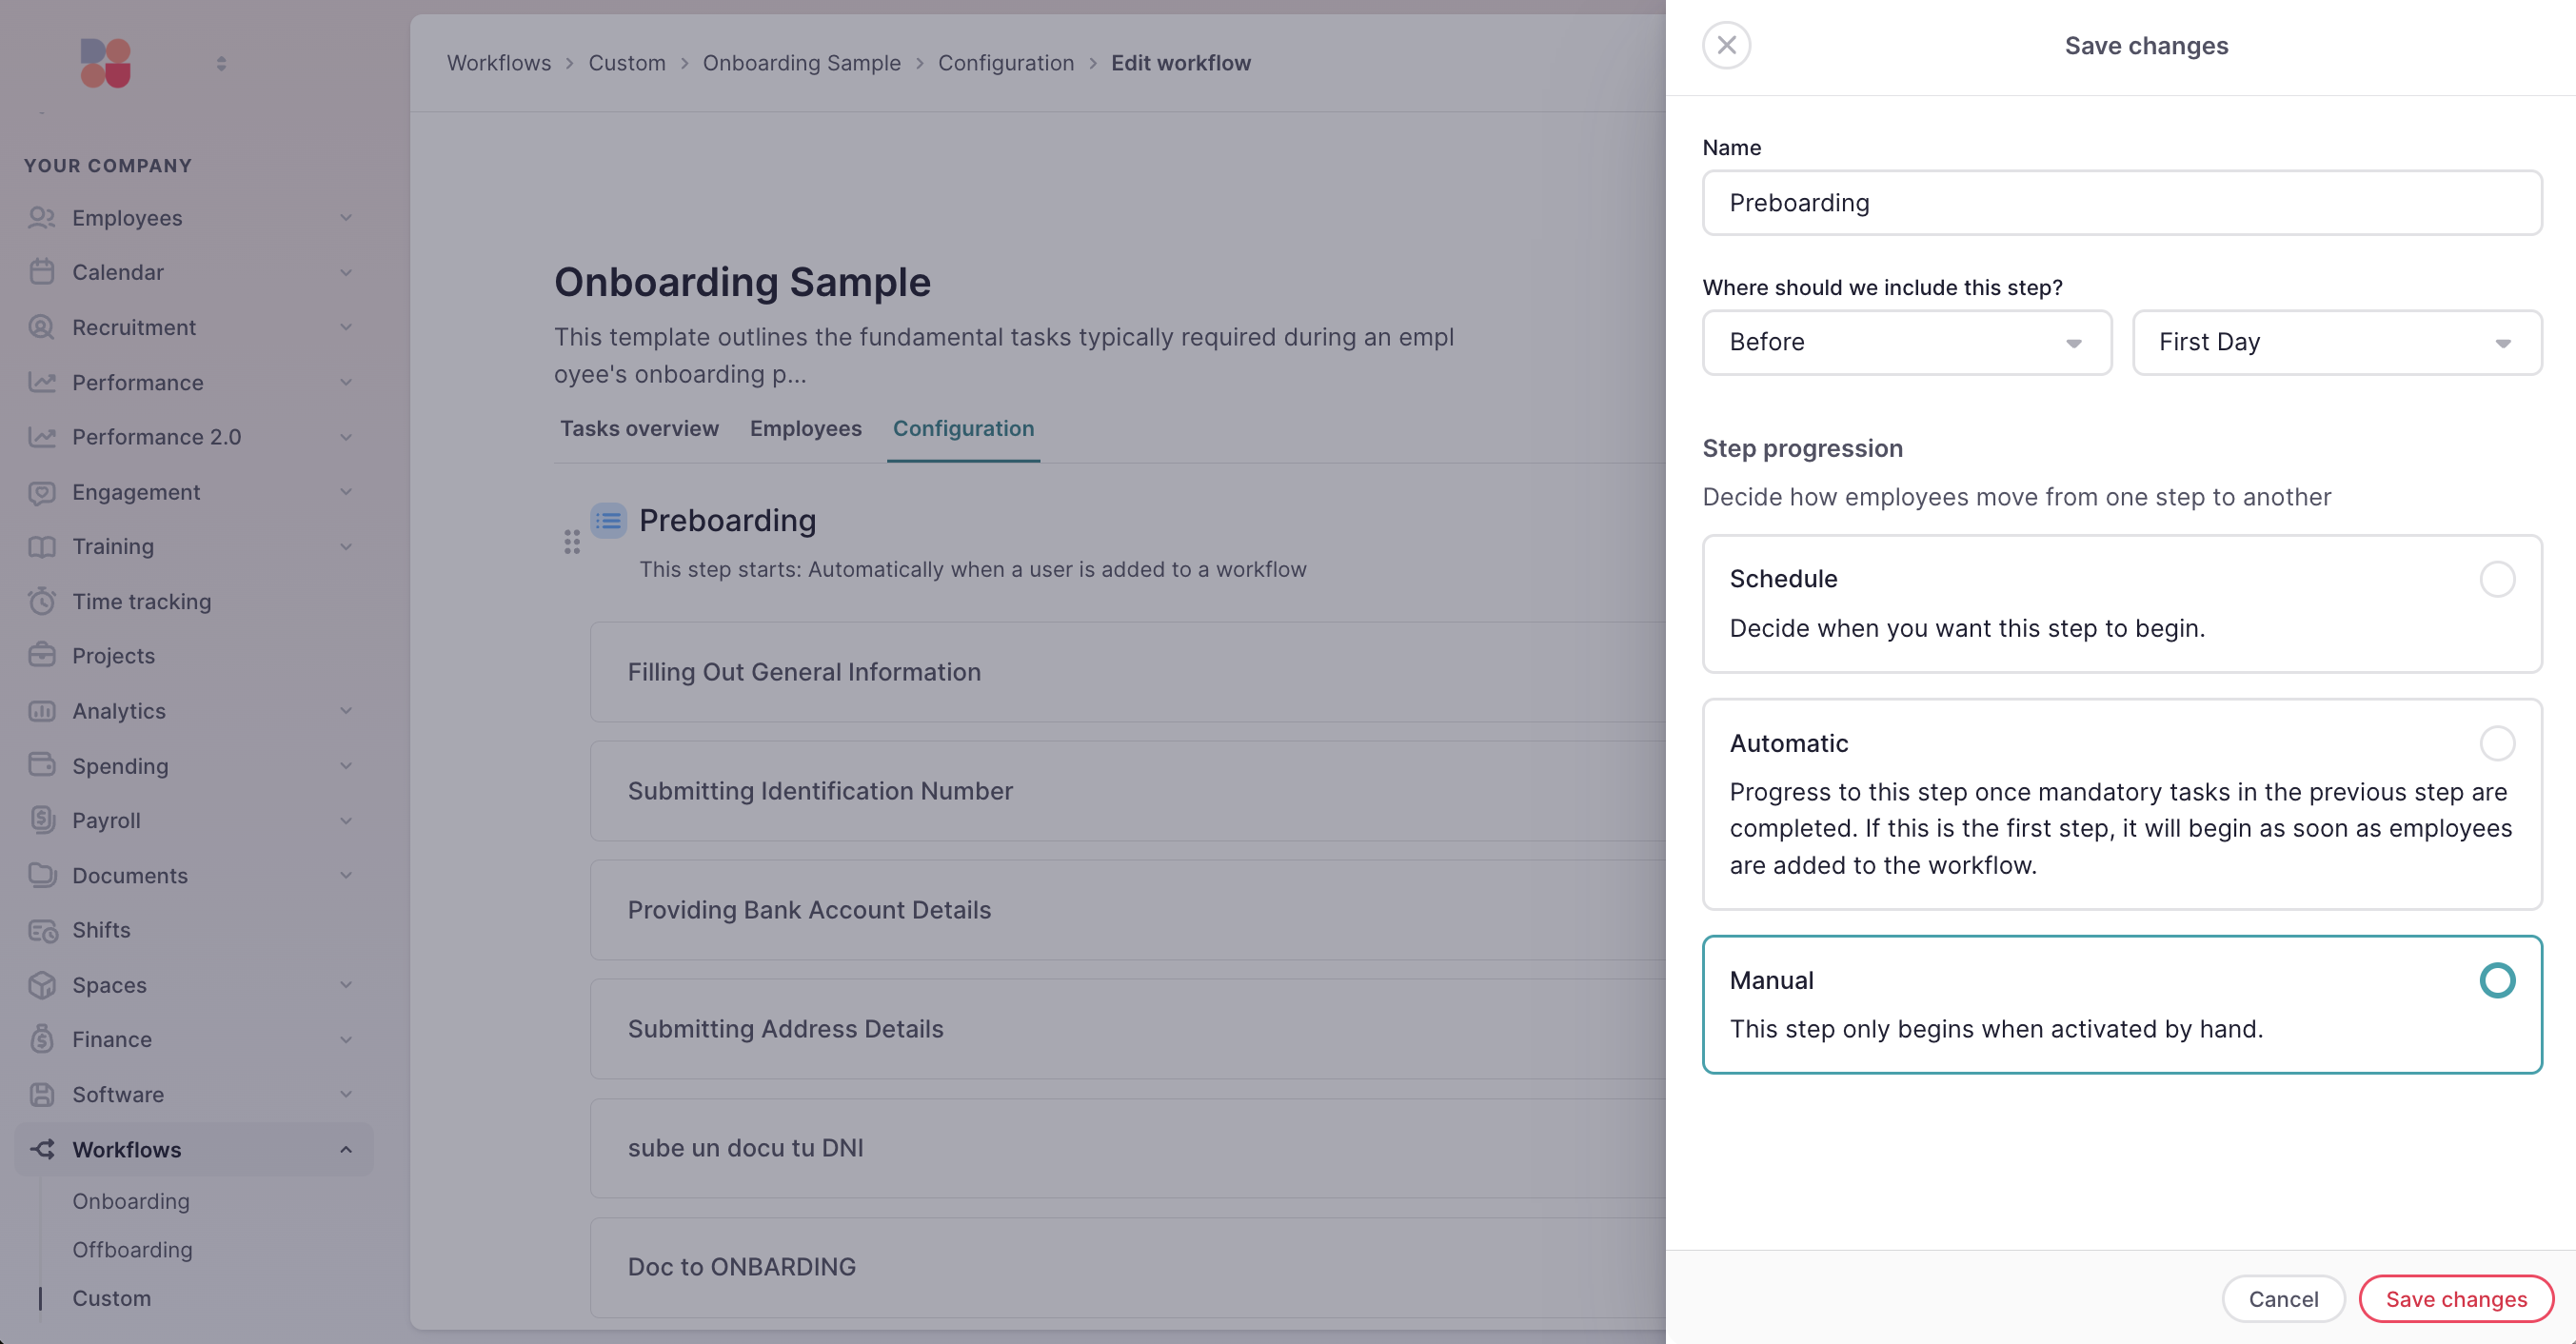
- Select the progression mode for the step , i.e., the successive phases or steps of the workflow:
- Scheduled : Decide when this step should begin. This condition allows the step to be activated based on relative dates. If this step is the first in the workflow, it will not start automatically until the activation date is reached.
- Automatic : This step will be activated as soon as the mandatory tasks of the previous step are completed. If this is the first step in the workflow, it will begin as soon as the employees are added.
- Manual : This step only starts when it is activated manually.
Only people with the Edit Workflow permission and employees assigned to the workflow can see the steps.
If you wish to modify the progress settings of a step:
- In the sidebar, go to Workflows
- In the list of workflows, select the relevant workflow.
- Open the desired workflow
- Go to the Configuration tab
- Choose a step, then click the three-dot icon.
- Click on Edit step
- Modify the step progress
- Click on Save
The progression of steps can be modified manually by activating parallel execution , which makes it possible to overcome the constraints of linear execution and to make workflows more dynamic and efficient.
To manually modify the progress of a step:
- Open the relevant workflow
- In the Employees tab, select the employee whose progress you want to modify.
- Go to the step you want to activate, then click Start this step
How to add a task
- From the Configuration page, click on + New task
- Select the task type :
- Custom task
- Personal information
- Additional employee information (custom fields)
- Identification information
- Bank information
- File upload
- Request for document completion
- Click Next
- Configure the task
- Click Next
- Check that everything is correct using the preview, then click Save task
For a workflow to function correctly, it must include at least one step with a task and at least one assignee .
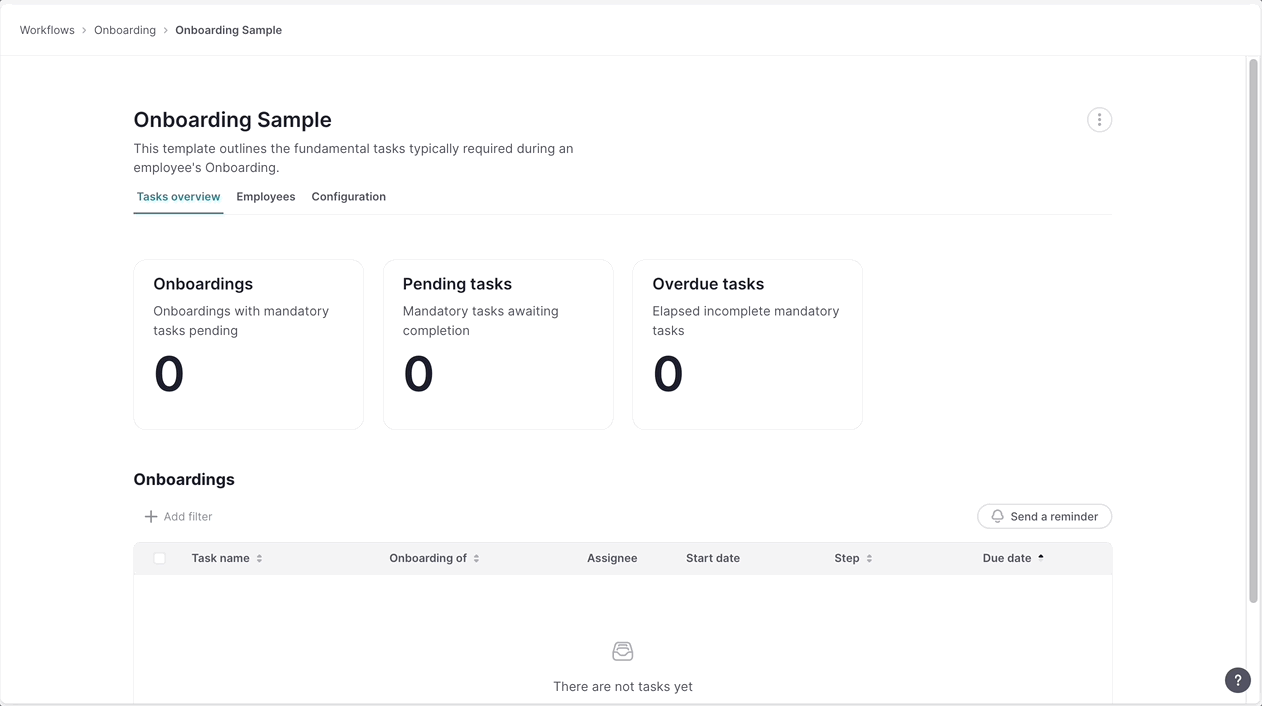
"Task Overview" tab
From the Task Overview page, you can view a general overview of the workflow as well as the list of pending tasks. A key statistics module presents the most important workflow data:
- Workflows in progress
- Mandatory tasks pending
- Mandatory tasks that are overdue
You can filter the list to create more targeted views.
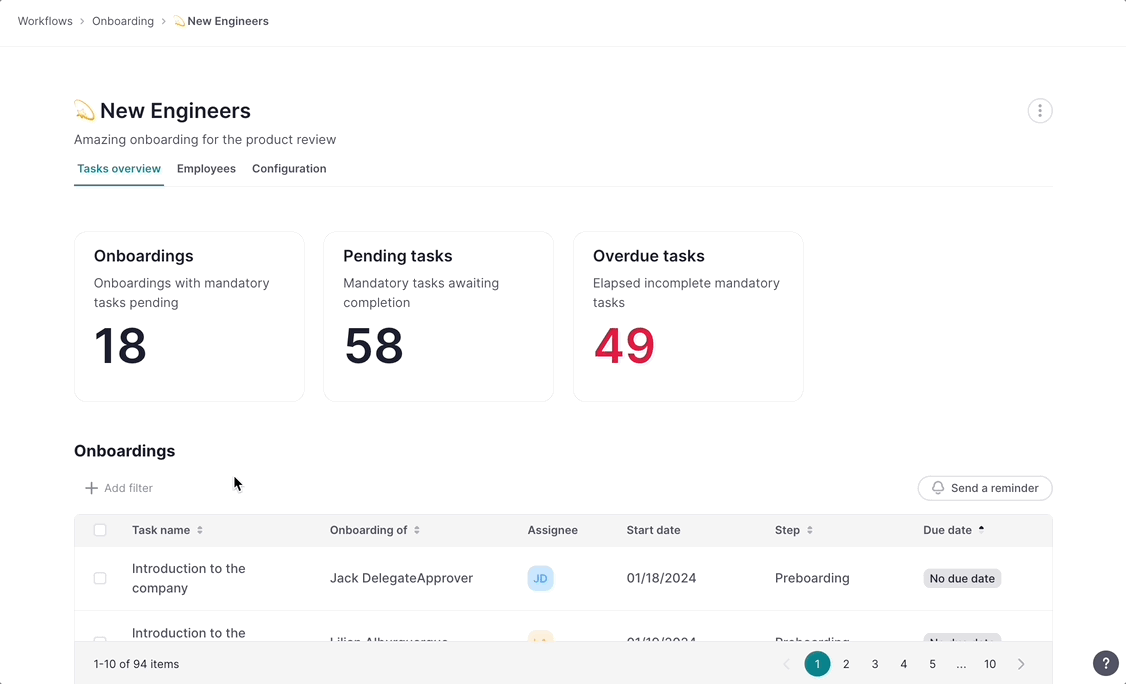
You can take action on unfinished tasks by sending reminders to people with pending tasks. Simply click Send a reminder . The reminders will be sent to their email address as well as their Factorial inbox.

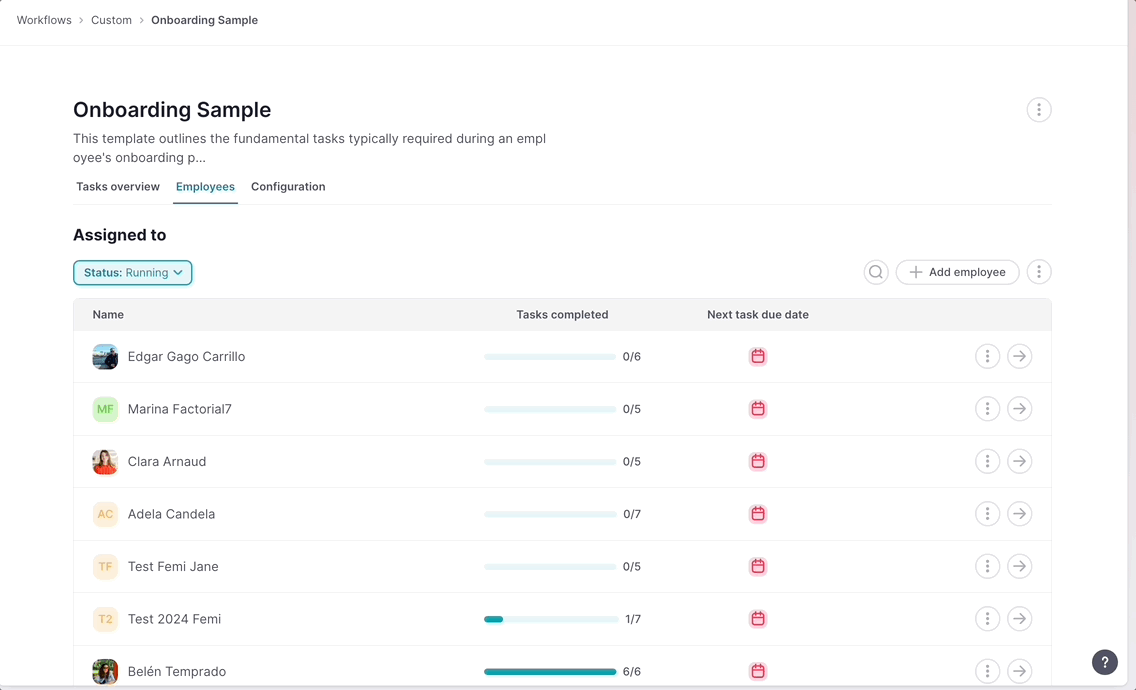
Employees tab
In the Employees tab, you can add one or more employees to the workflow. There you will see:
- The employee's name
- The stage he/she is in
- The number of tasks completed out of the total number of tasks in the step
- The due date of the next task
Only people with the Edit Workflow permission and employees you have assigned to the workflow can see the preview page.
Add employees to the workflow
- On the Employees tab, click Add an employee
- Select the employees
- Click on Add employees
The following are displayed in each employee's workflow configuration:
- The status of each step
- Completed and pending tasks
- The people assigned to the tasks
When a workflow triggers a new step, all its tasks are assigned simultaneously to different people.
Notifications
For assigned users and employees, each time a new step is activated, they will see the new tasks in their inbox and in the tasks section. In addition, they will receive a single email summarizing all newly activated tasks. These tasks will display a timeline, indicating their position in the process.
Once a task is completed, it will automatically be marked as accomplished on the manager's side as well.