What is Zapier?
Zapier is a product that allows end users to integrate the web applications they use. Zapier strongly focused on automation processes to save time.
📢 With Factorial's Zapier integration, you can do many things like:
- Importing Factorial holidays to your Google calendar
- Exporting a list of Factorial employees to an external spreadsheet
- Notifying yourself of new leaves pending to be approved
- Import new hires from your favorite ATS directly to Factorial
- Fetch, create, delete or update shifts by using Zapier Actions
- and much more!
Make a Zap with Factorial
You can create a Zap using Factorial either as a source or as a destination. As a source, you can use Factorial to notify other services of new events happening at Factorial, like new employees or leaves being created.
As a destination, you can post new information to Factorial. For example, creating a new employee) in response to some event happening in another service integrated with Zapier.
You can learn more about creating zaps in Zapier article.
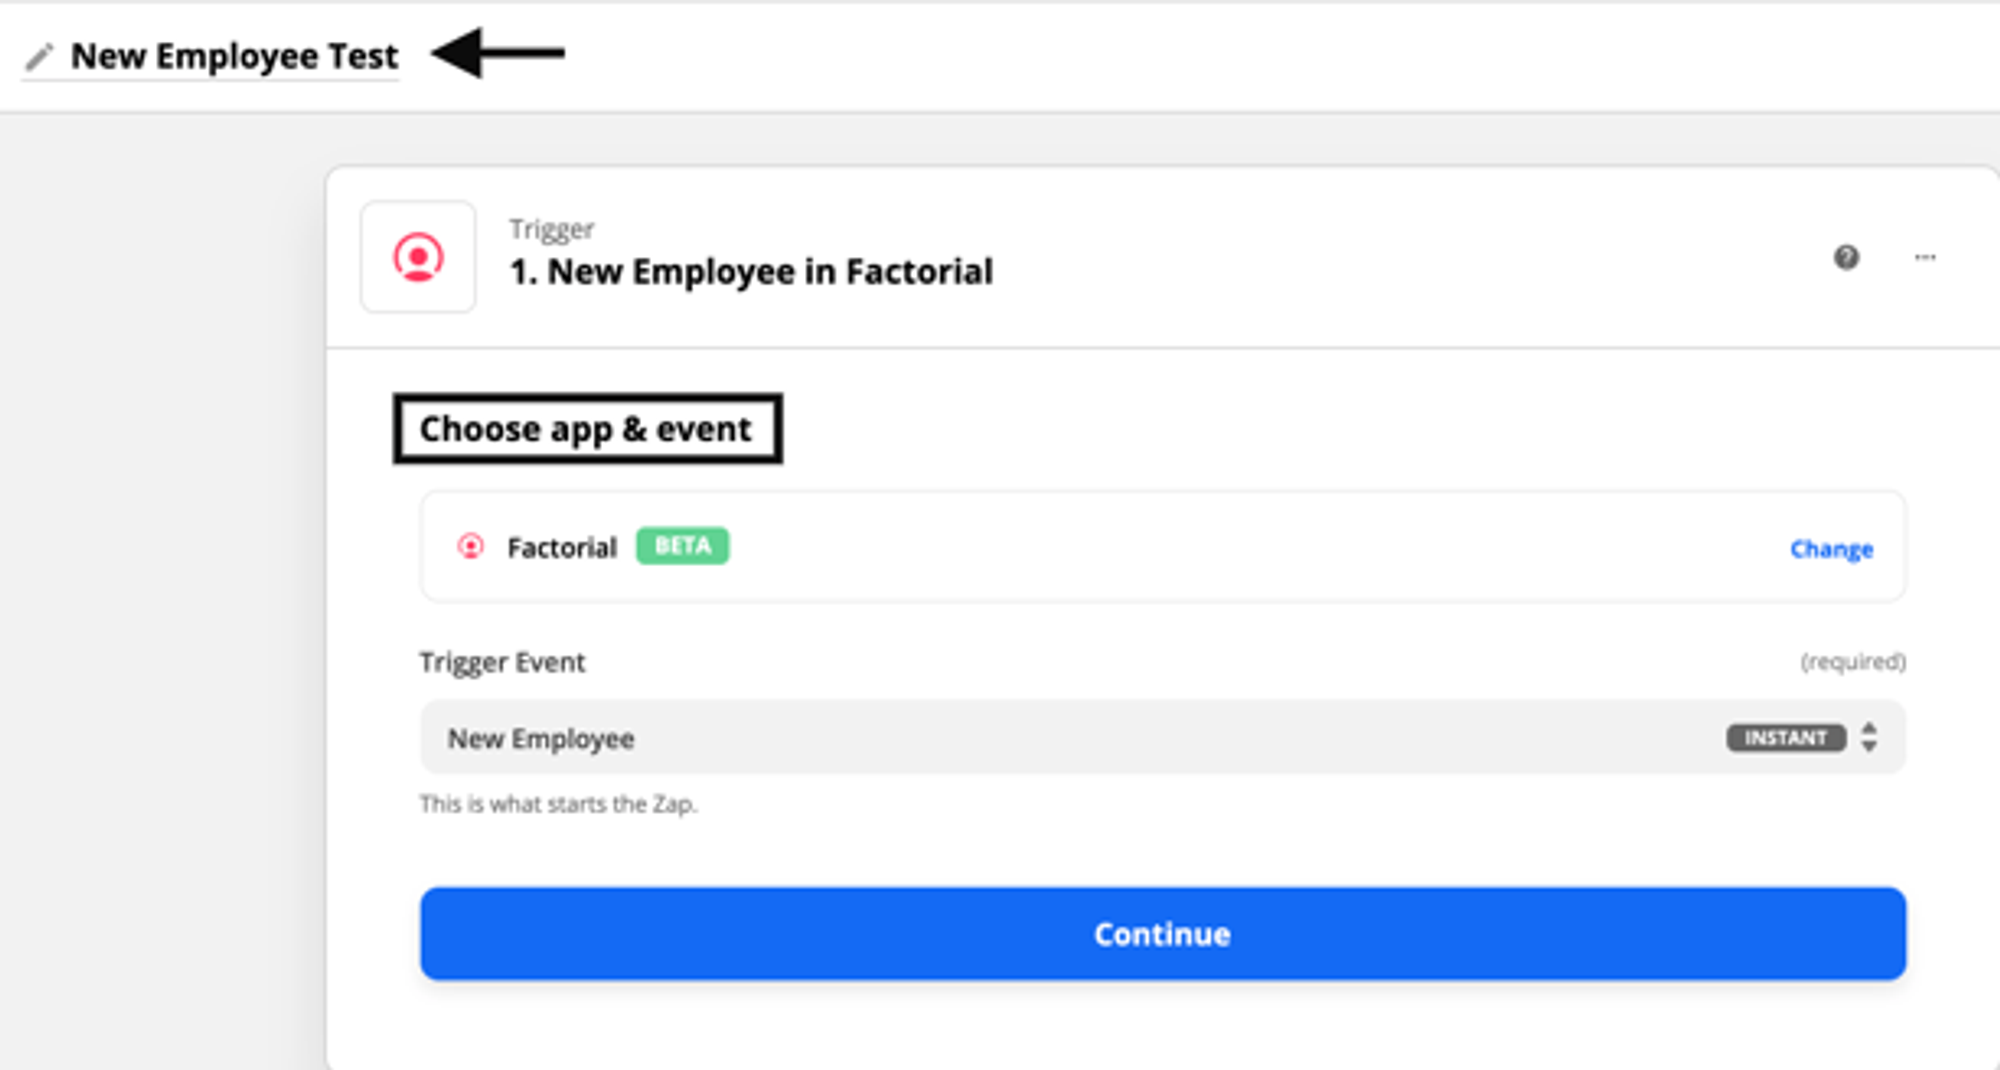
1. Head over to your dashboard at Zapier and click Make a Zap. Once in there, provide a name to your Zap and select Factorial as the source and choose a trigger:
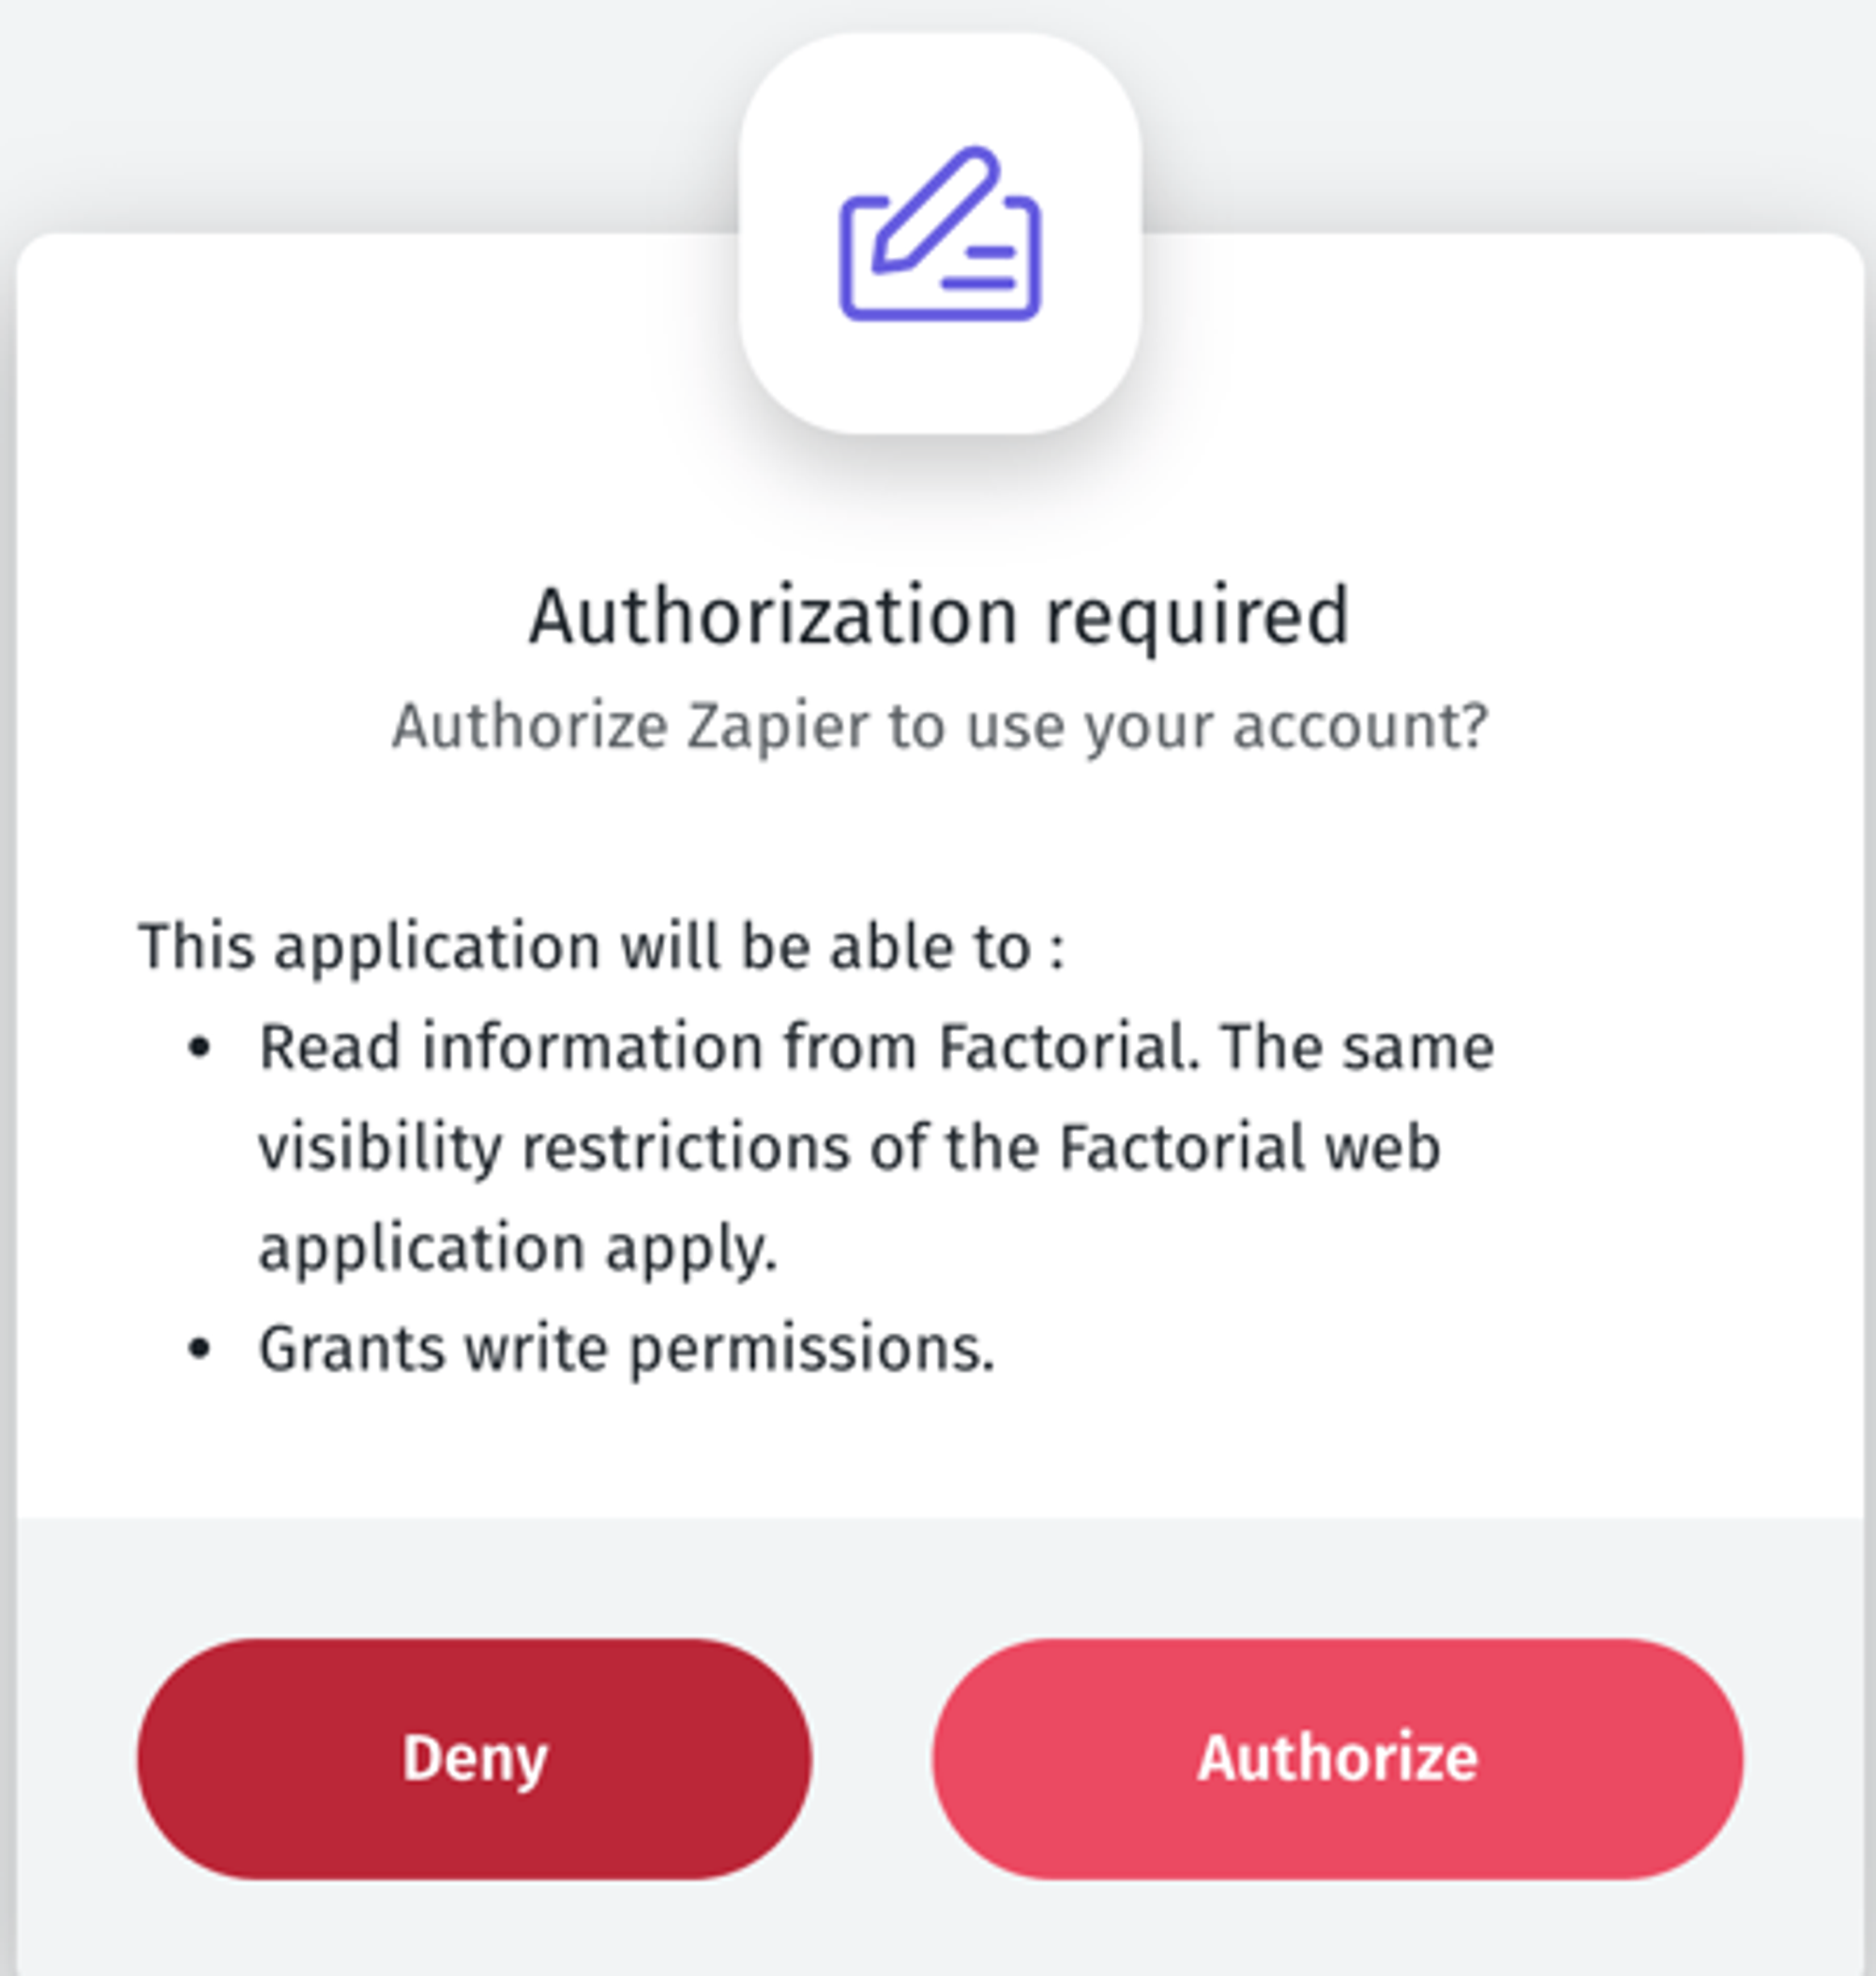
2. If you are installing Factorial for the first time, you will be requested to authorize Zapier access to your account.
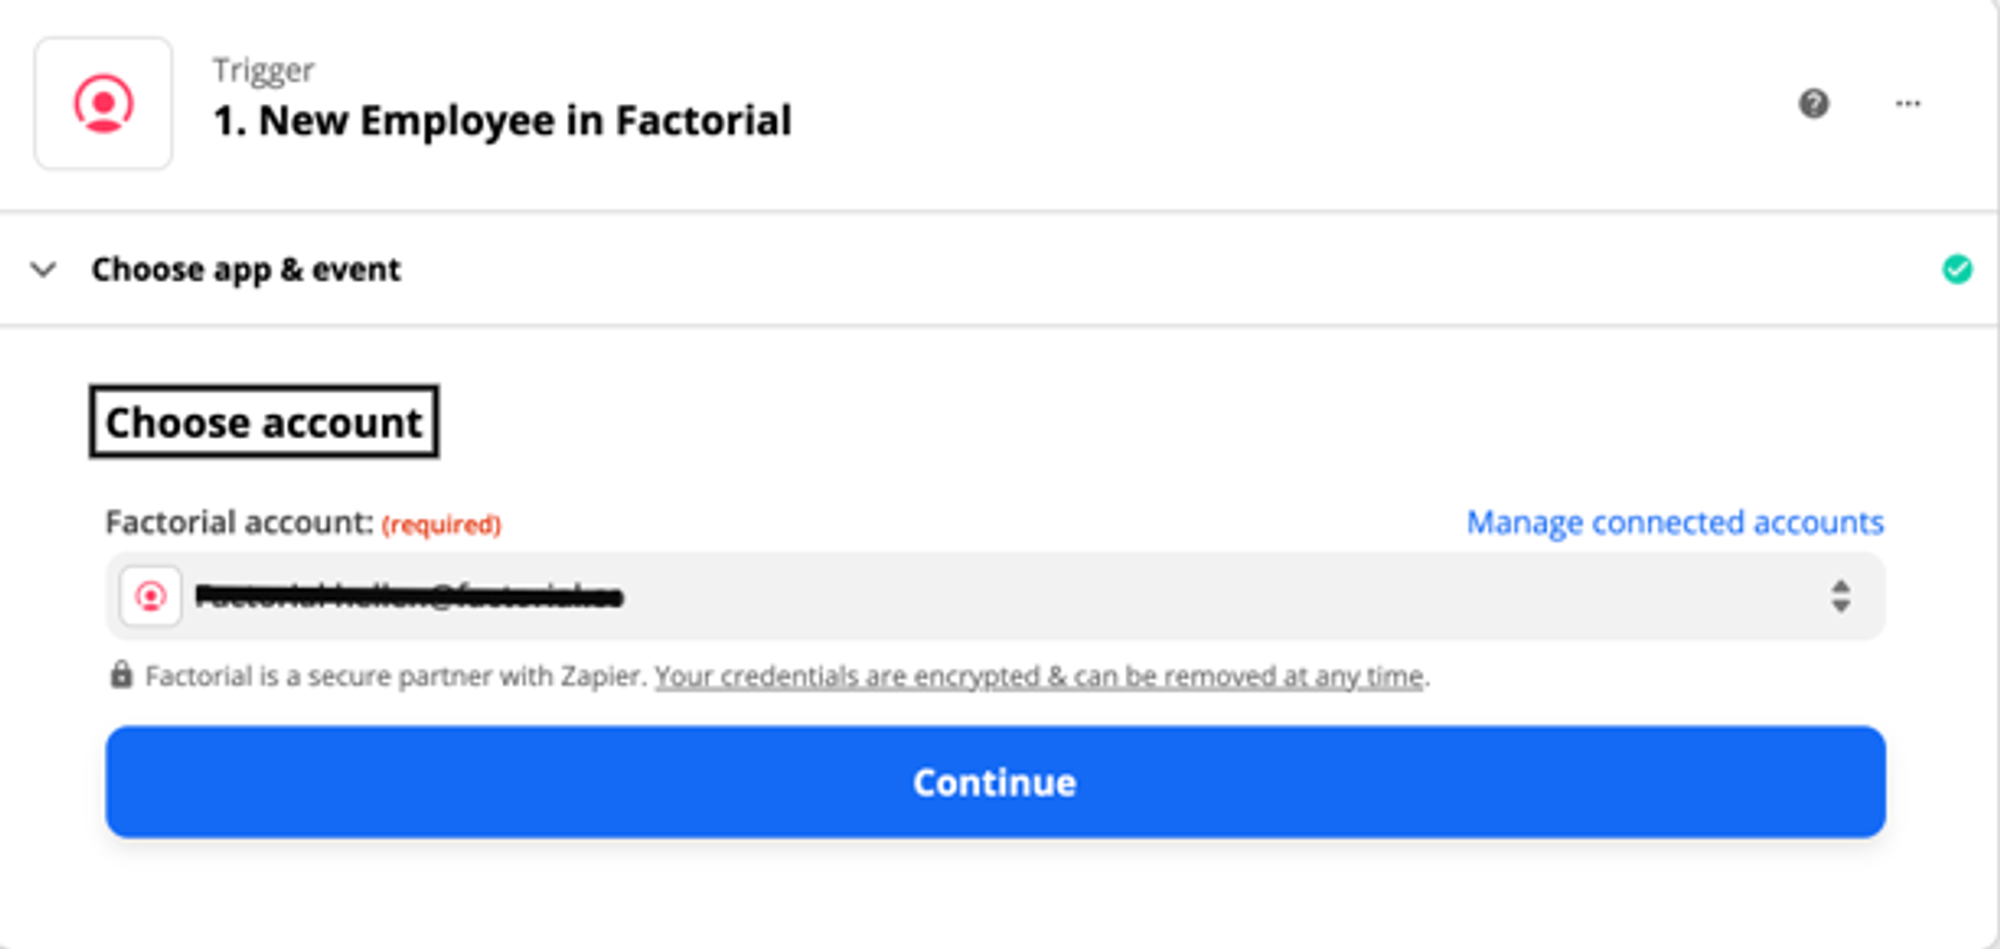
3. In the next window you will either be asked to sign in Factorial or select one of the accounts you have linked:
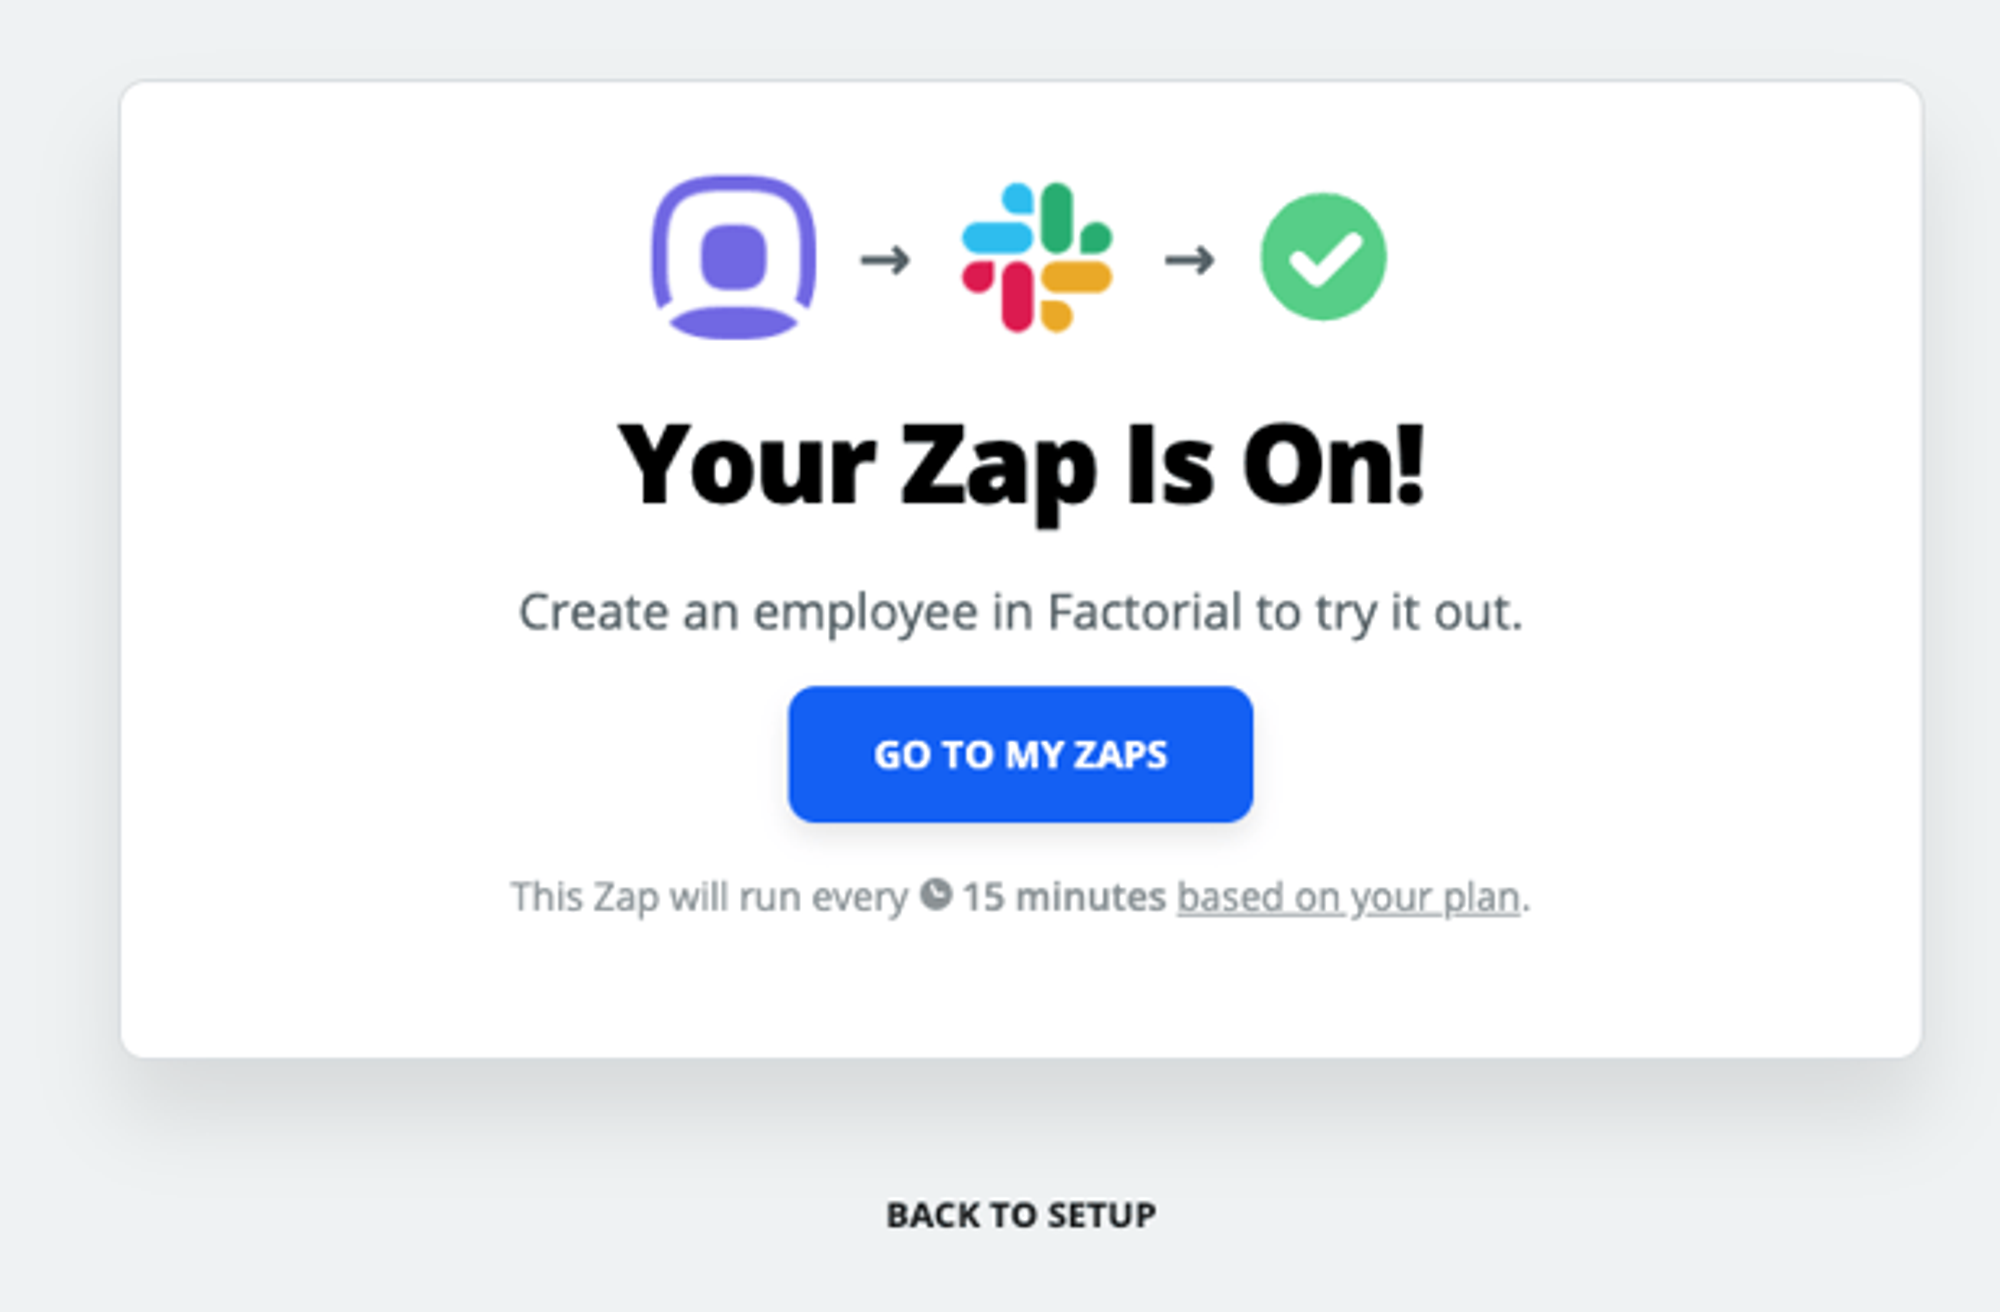
4. Test the integration and you should be fine to go to the next step: setting up the destination.
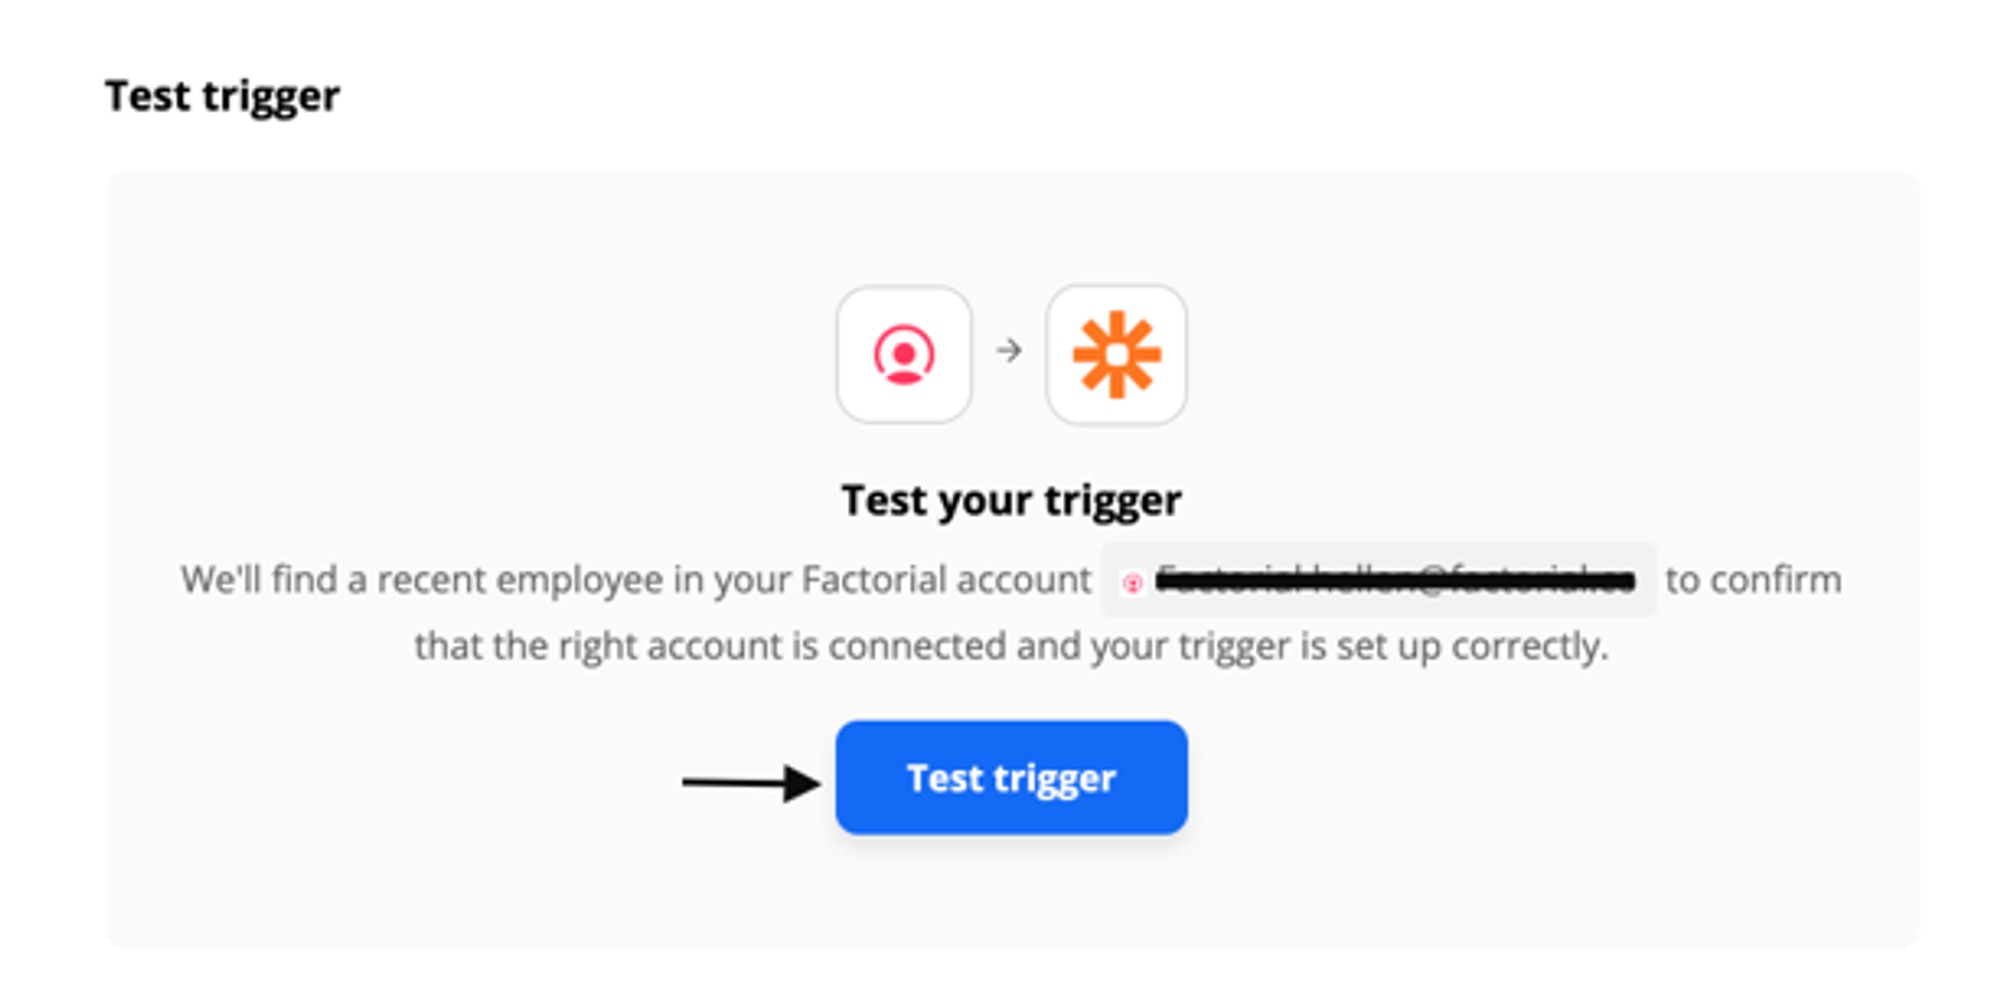
5. Zapier will report that a New Employee has been found in Factorial. This is the information concerning the new employee that will be shown.
6. In this case, we are going to use Slack as the destination of our integration. Our goal will be to post a Slack message every time a new employee is added to our Factorial company.
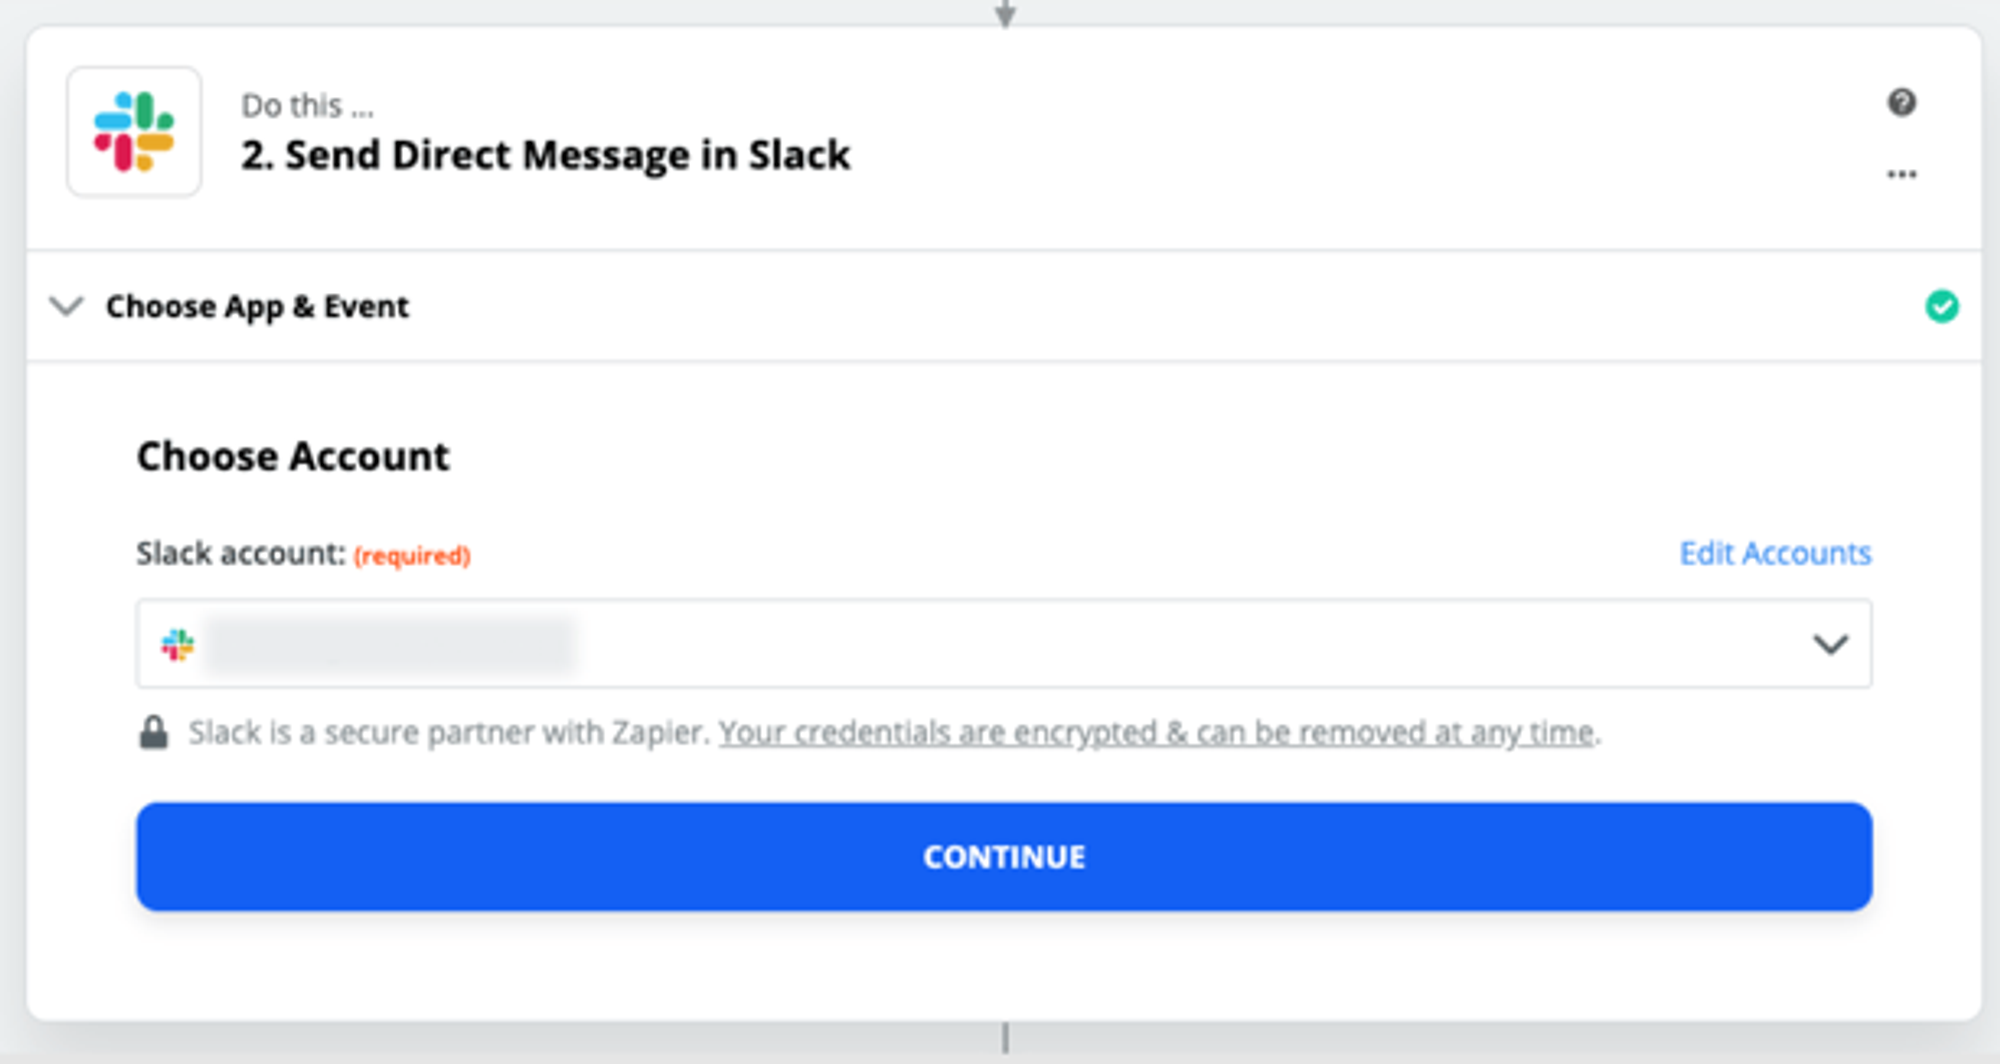
7. Select Slack as the destination:

8. Install or select your Slack account:
In case you don't have a Slack account, press on +Connect to a new account to configure.
9. Let's create our Slack message. The good thing is that we can use information coming from Factorial to customize the message!
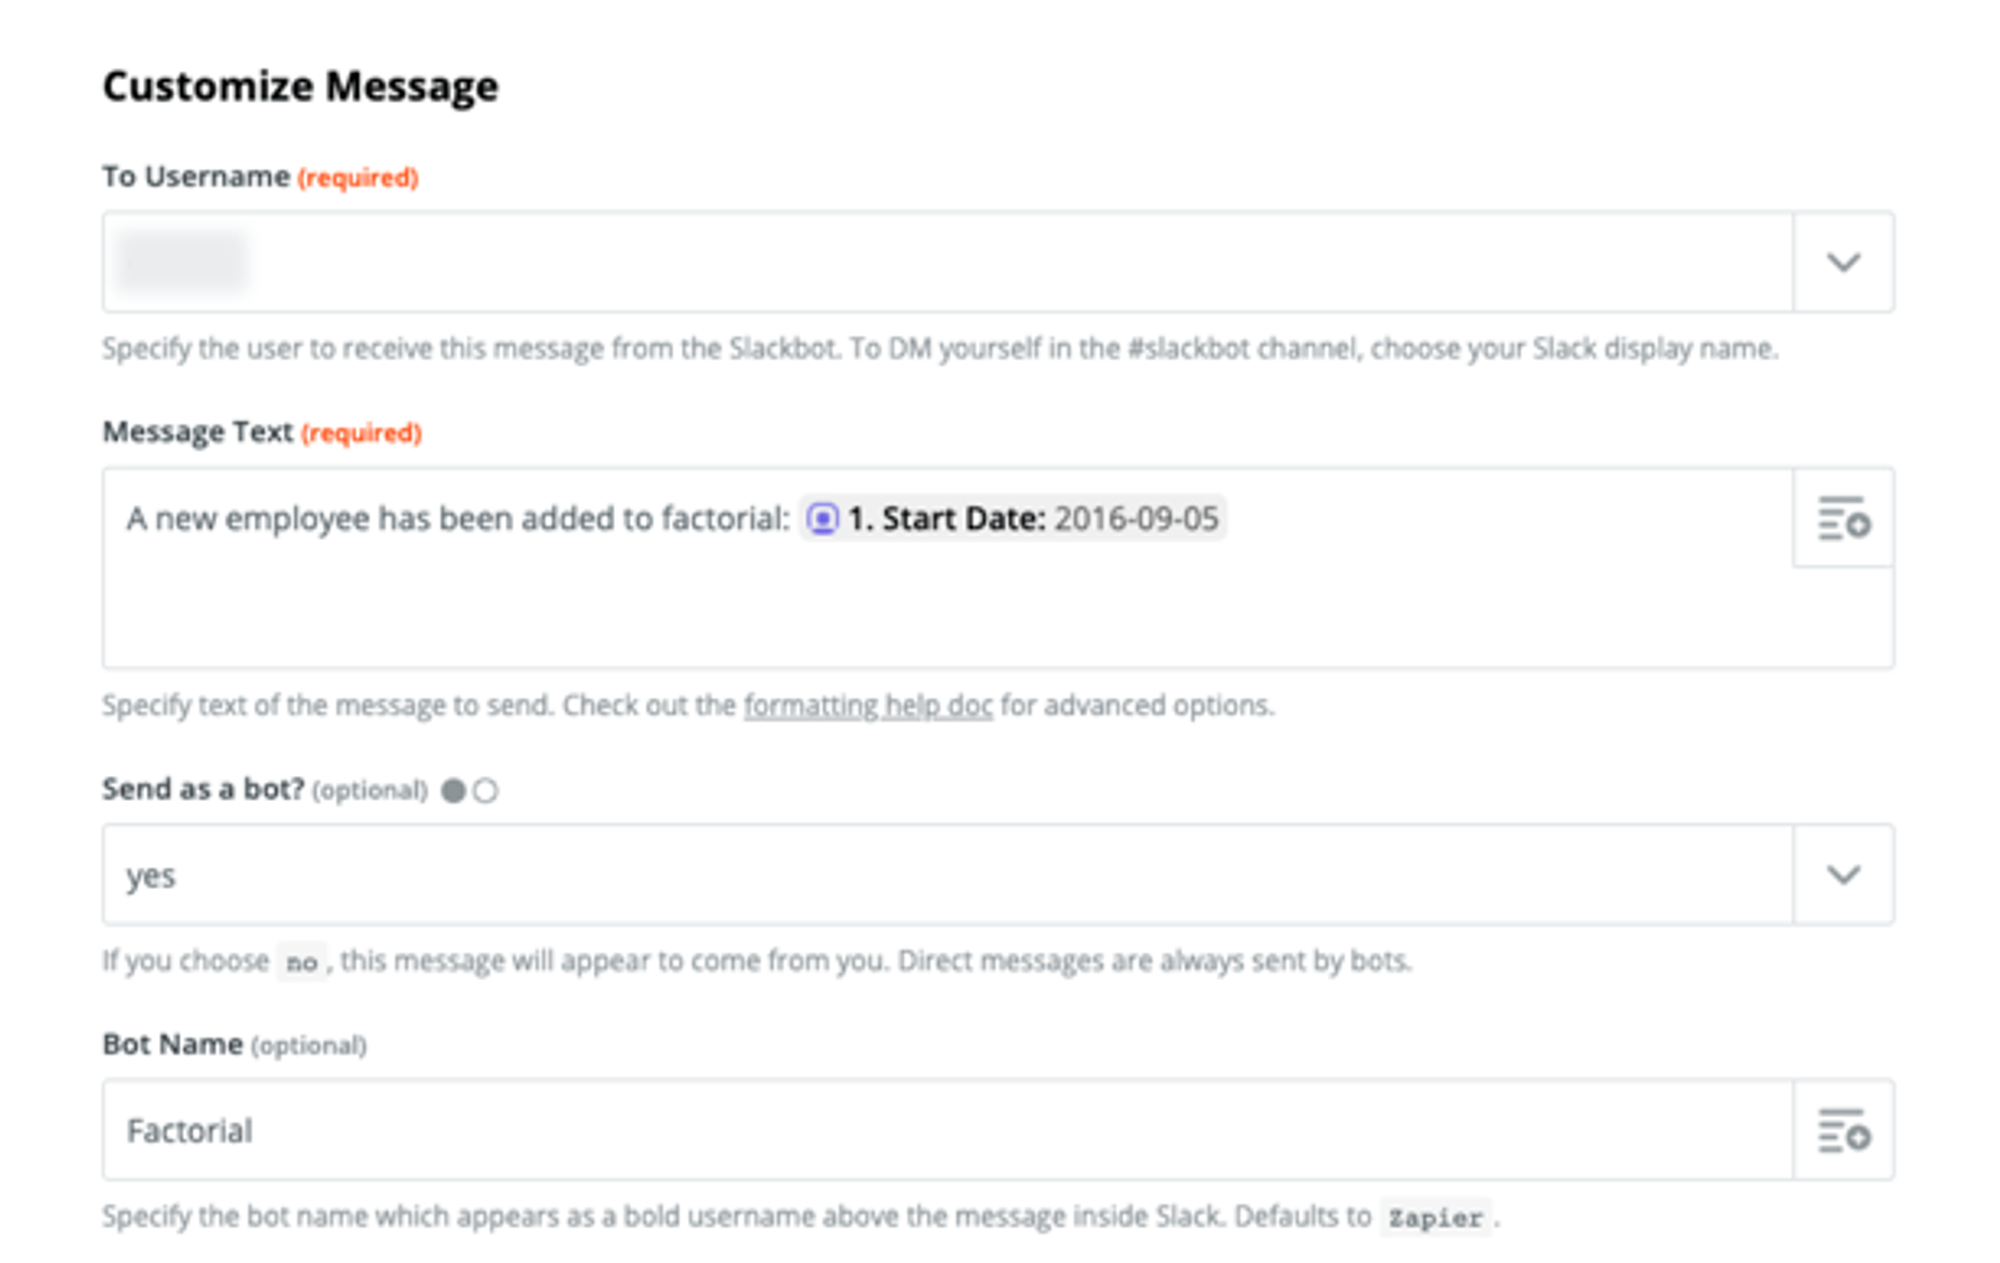
10. Once this is done, we can hit Test & Continue and we should be able to activate the integration!