Where to find the expenses
- On your sidebar, head to Spending
- Select Expenses

How to add an expense
There are two ways to add expenses: automatically or manually.
Automatic Expenses
The expenses you charge to your Factorial Card (plastic or virtual) will automatically be reflected in your profile under My Expenses. The expense will have the status Draft because you need to add a photo of your receipt in order to send the expense for approval.
- On your sidebar, head to My Expenses
- Click on the expense that was automatically created
- You will not be able to edit the supplier, category, amount, and date.
- If you want, you can edit the VAT amount and add a description or an internal reference.
- Scroll down to files and add a photo of your receipt
- Click on Send for approval
You must add a document (photo of the receipt) to send it for approval. Until then the expense will stay in draft status.
Manual Expenses
- On your sidebar, go to My Expenses
- Click on + Add
- Choose between Mileage Expenses or Regular Expenses
Regular expense:
You can add your expenses in two ways:
1. Using Smart Document Scanning
- Add a document so we can start the expense form and complete some fields for you using Smart Document Scanning (OCR)
- Your document will be read and the info will upload automatically
Smart document scanning creates a new expense as a draft with the information from the document.
- Users can edit and add more info.
- Save your progress as a draft or send it for approval.
OCR technology reads PDF, PNG, and JPG and recognizes the information in the documents.
Companies should keep and store physical documents depending on the country's law.
AEAT Certification for the Spanish market
With Factorial's certification with AEAT, in Spain, we are approved by Hacienda to digitize invoices and simplified invoices when you scan them from Factorial.
How?
1. Download the App Factorial
2. Log in to your account
3. Go to the More section
4. Click on the + button and add a new expense
5. Select Make a photo and you will get the scanner to sign the document
6. Once done, you will see a Signed label next to the document and you can now dispose of the paper
If your receipt has more than one page, you should scan all pages at once. After scanning the first one, you will see a + icon to add more.
Scan your document from the Factorial app, process it, sign it with a certificate approved by the IRS, and keep the document for five legal years.
You will have access to manage all the signed documents and you will be able to complete all the data and thus, comply with the Hacienda regulations.
Expense homologation for the French market
All documents uploaded or scanned with the Factorial app will be signed and valid for audits. Whether reporting expenses on mobile or desktop, all documents will be signed.
How to activate it?
- On your sidebar, go to Settings
- Scroll down to Finance
- Click on Expenses
- Accept the terms and conditions under Homologations
This feature is only available for French companies with Enterprise plans.
2. Filling the information manually:
- Click on Skip this step
- Fill in the information for your expense, manually
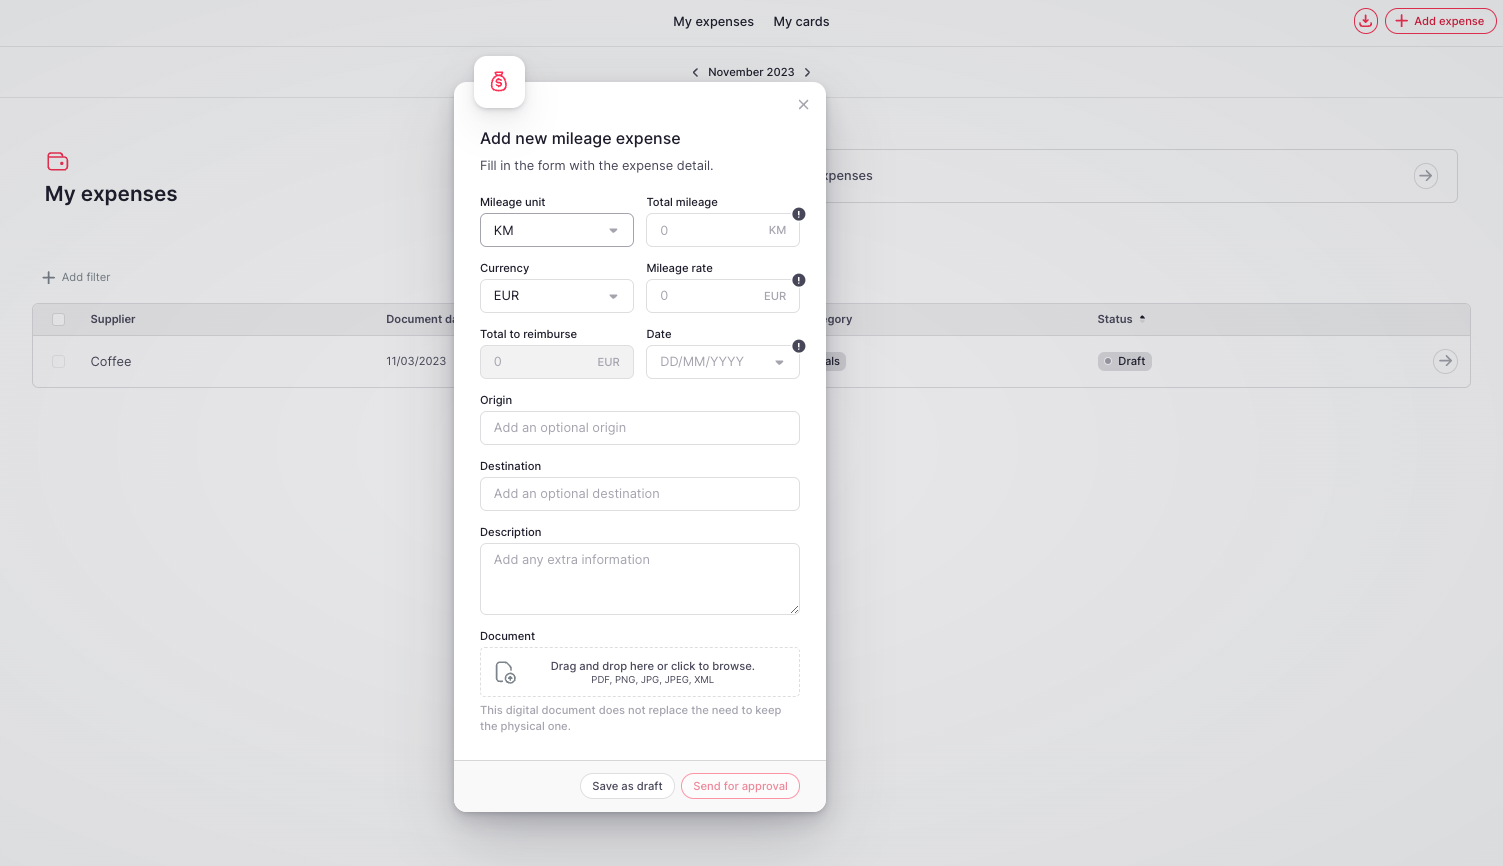
Mileage Expense:
- Click on + Add
- Select Mileage expense
- Fill in the form with the expense detail
Setting up the mileage rate:
Only available for companies with an Enterprise plan
You have the option to configure mileage rate settings, allowing people in your company with expense management permissions to establish one or more mileage rates.
This feature eliminates the need for employees to manually input the information each time they report their mileage. Instead, they will have access to the preconfigured options that were set up beforehand.
- On your sidebar, head to Spending > Expenses
- Go to the three dots located in the top right corner
- Click on Expense settings
- Scroll until Expense form
- Select Mileage
- From there, choose Mileage rate
- Click on the settings icon
- Add option
- Accept
🔥 Set up as many options as your company needs.

Report mileage expenses on mobile:
Only available for companies with an Enterprise plan
If you can't see this feature on mobile, double-check if you have downloaded the last version of the Factorial app.
- From your app, tap on the Expenses tab
- Select Mileage expense
- Add the total mileage and the date and submit
Note: In the last step, you don't need to complete the mileage rate manually if you have one predefined.
For employees with draft expenses:
If you are an employee with draft expenses, you will now have easier access to them using filters for quick and organized expense management. Each time you create a draft expense, it will appear in your My Expenses section, ensuring nothing is overlooked
For managers with pending tasks:
If you are a manager with pending expenses for approval, you will now have easier access to them. Every time you have a pending expense for approval, it will appear in the Expenses section.
How to add subcategories when reporting an expense?
- From My Expenses
- Add expense
- Select between Regular or Mileage
- Select the category to which you added the subcategories
- Fill in the information required
- Send for approval
It is necessary to create the subcategory as none of the existing categories have default options.
Subcategories can be set up as optional or mandatory.
When paying with Factorial Cards you will also be able to modify the expense category before submitting the expense. In this way, you can make sure that the expense is submitted with the right category.
-4.png)
How to add an expense from another currency
Select any currency when reporting a mileage expense or a regular manual expense. This currency will also be visible on the Expense table, dashboards, and reports.
- On your sidebar, head to My expenses
- Click on the +Add expense
- Select the type of expense: Mileage or Regular expense
- Fill the information
- In the Document currency field, select the expense currency
- Finish the process and choose Send for approval
How to report expenses on behalf of someone else
To activate the feature
- On your sidebar, go to Settings
- In General, click on Permissions
- Choose the permission group for which you want to enable the feature
- Click on Expenses
- Enable the permission Add new expenses on behalf of someone else
- Save changes
To report an expense on behalf of someone else
- On your sidebar, go to My expenses
- Click on + Add
- Upload a document
- Select an Expense Owner. By default, it'll be the same as the Reporter.
- Fill in any missing fields, send it for approval, and you're done!
The same process applies to a group of expenses.
Different statuses of an expense
An Expense can have a different status. There are:
- Draft: The expense was created automatically or manually but is not ready to be approved. The employee can still make changes.
- Pending: It is the status after the draft. The expense is ready to be approved and can not be edited anymore.
- Approved: The expense has been approved.
- Rejected: The expense has been rejected.
- Reversed: The expense was refunded (is just for automatic expenses)