The Expense form settings feature provides the ability to customize expense forms according to your unique requirements, offering greater flexibility for companies with complex structures.
Customizing your expense form
You can now customize the expense form according to their unique requirements. This feature accommodates more complex company structures, allowing for greater flexibility in expense reporting.
- Enhanced permissions: the new settings are accessible not only to admins but also to users with appropriate permissions.
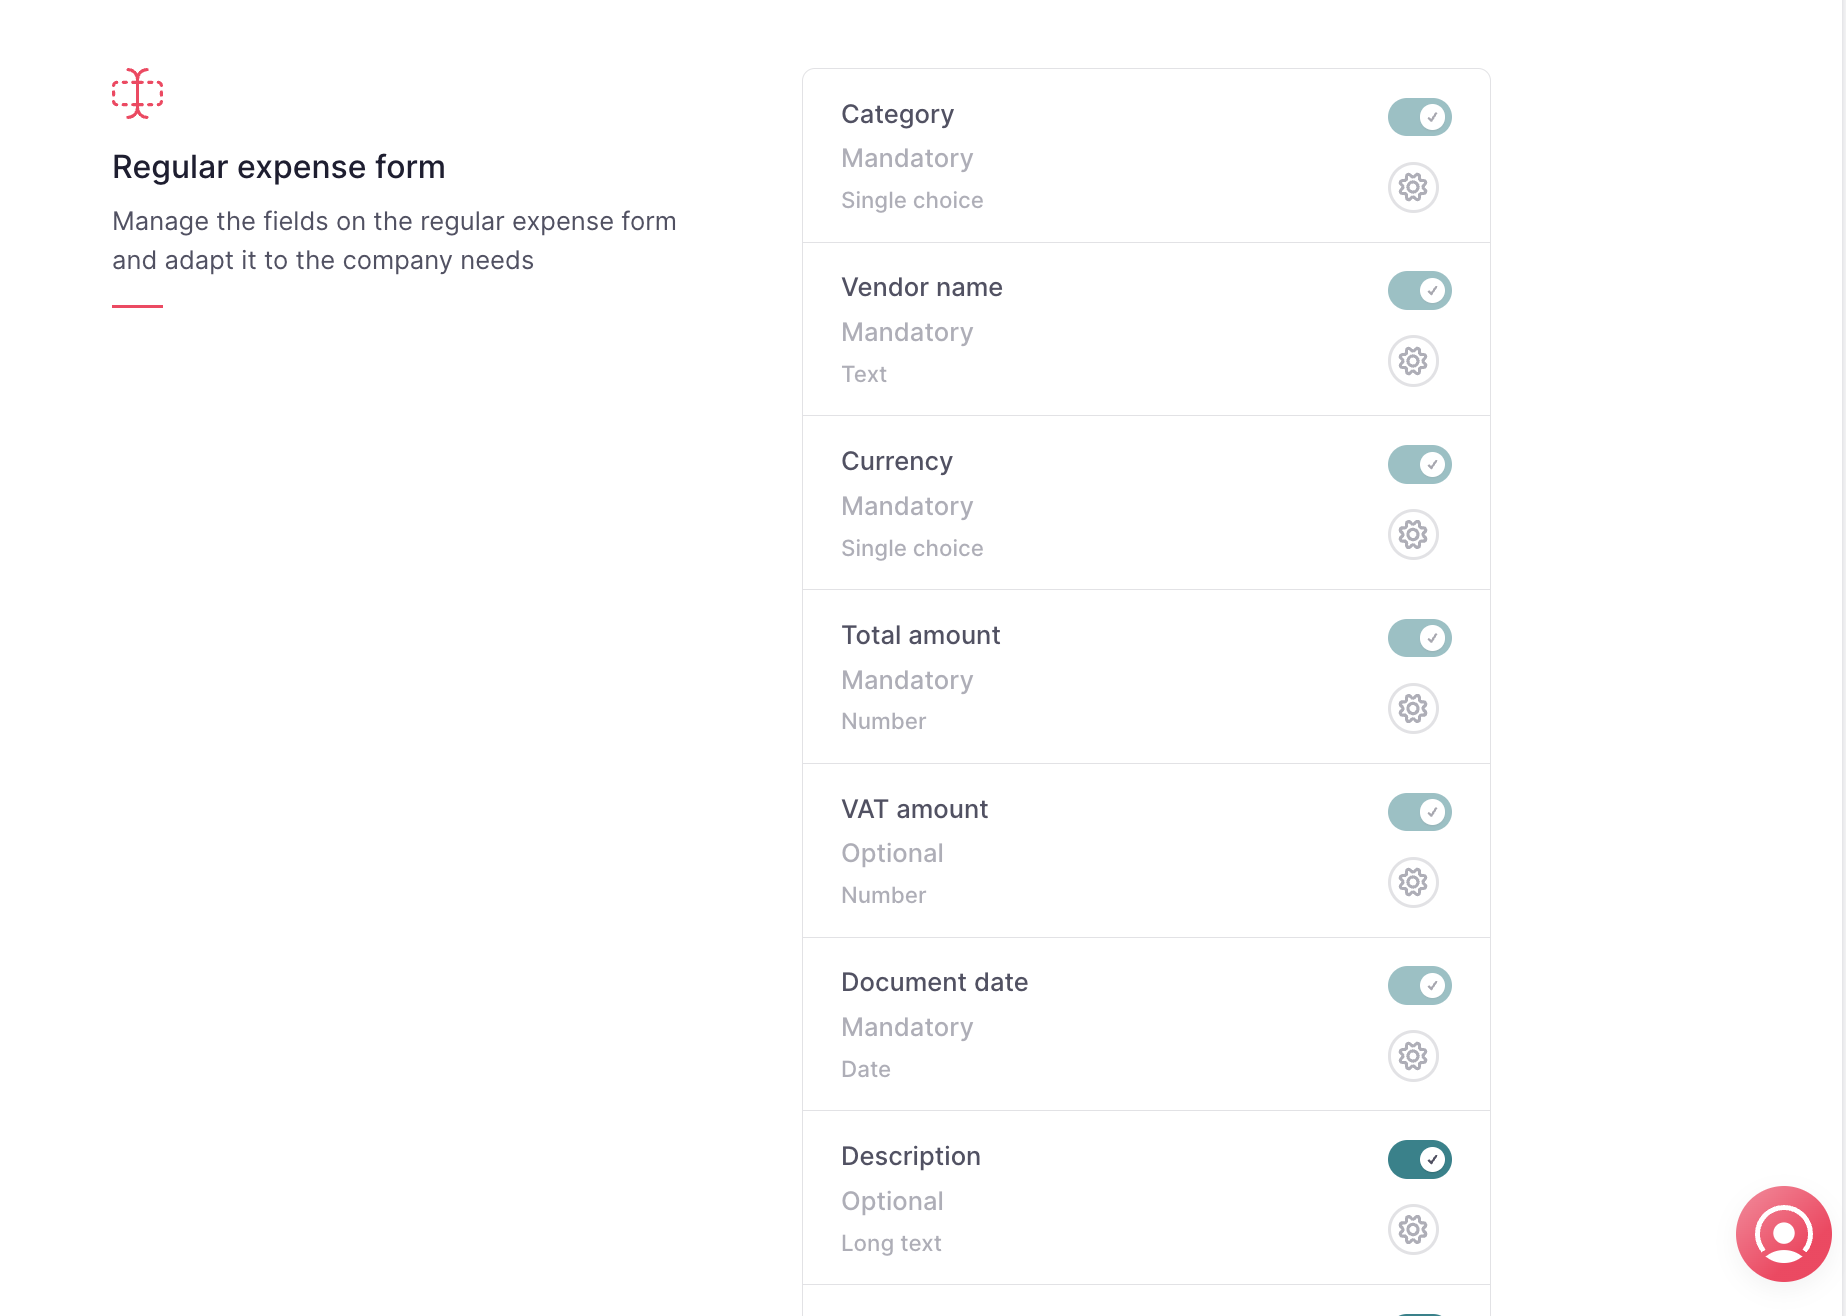
- Manageable fields: the following fields can now be managed within the Expense form section:
According to each type of expense fields vary, and can be mandatory or optional
Regular expense fields:
- Category (mandatory)
- Subcategory (mandatory or optional)
- Vendor name (mandatory)
- Vendor TIN (mandatory or optional)
- Document number (mandatory or optional)
- Document currency (mandatory)
- Document amount (mandatory)
- Document date (mandatory)
- Document type (mandatory or optional)
- Payment (mandatory or optional)
- Payment method (optional)
- Exchange rate (optional)
- Reimbursable currency (optional)
- Reimbursable amount (optional)
- Tax type (mandatory)
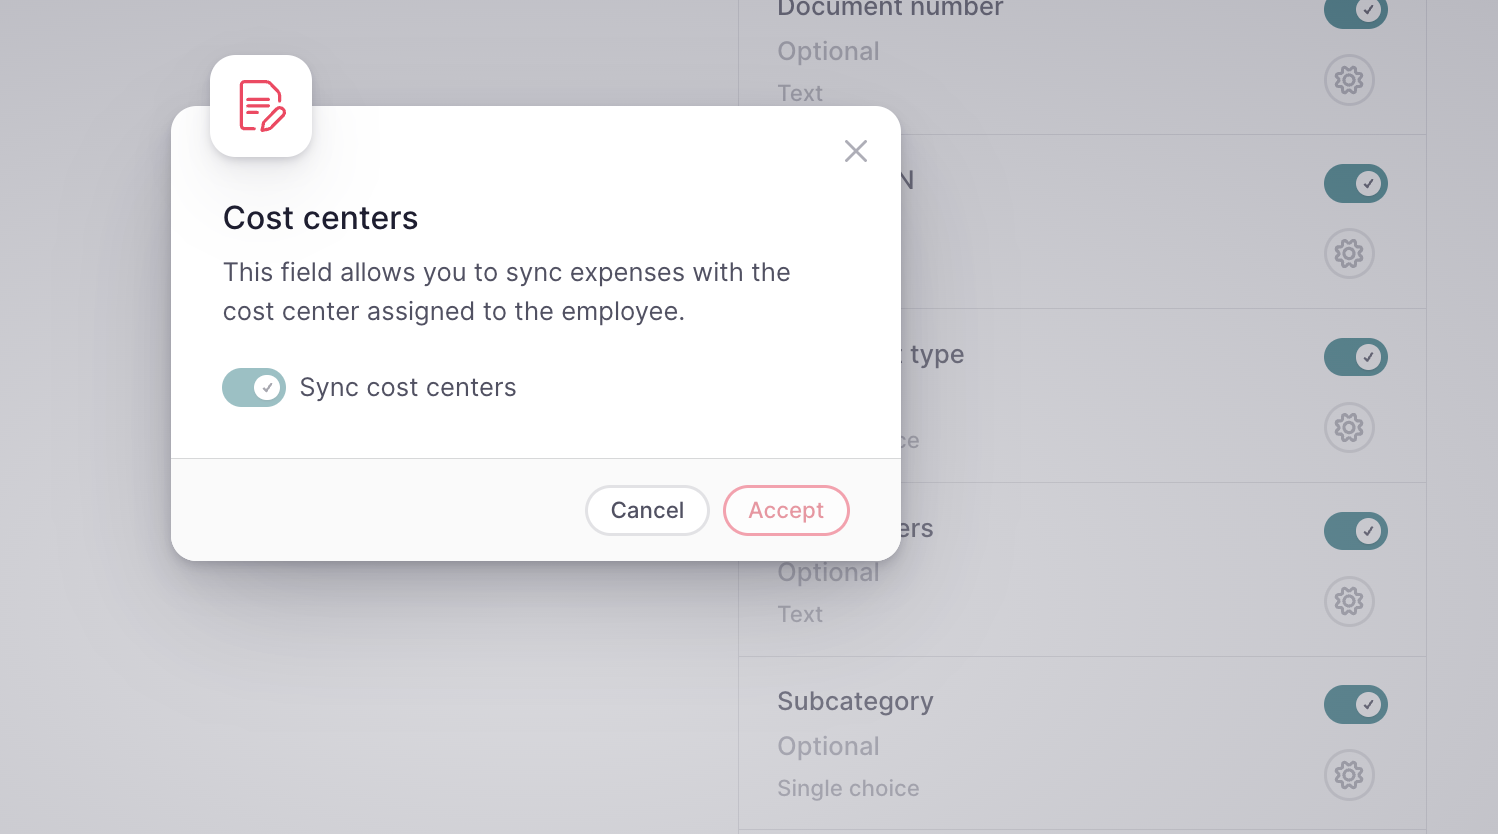
- Cost centers (optional)
- Projects (mandatory or optional)
- Description (mandatory or optional)
- Internal reference (mandatory or optional)
- Document (mandatory or optional)
Mileage expense fields:
- Subcategory (mandatory or optional)
- Mileage unit (mandatory)
- Total mileage (mandatory)
- Currency (mandatory)
- Milleage rate (mandatory)
- Total to reimburse (mandatory)
- Date (mandatory)
- Origin (mandatory or optional)
- Destination (mandatory or optional)
- Cost centers (optional)
- Projects (mandatory or optional)
- Description (mandatory or optional)
- Document (mandatory or optional)
❗️The inclusion of Document number, Document type, and Vendor TIN enables the seamless integration of expenses into the accounting process. By identifying the Document type, you can easily locate invoices and reclaim VAT amounts, you can report all the tax types on the document (up to 5 types), resulting in cost savings.
- User input and OCR integration: users can enable these fields when reporting expenses, allowing them to complete the required information. The OCR technology will read and populate this information automatically, ensuring accuracy and reducing the need for manual verification.
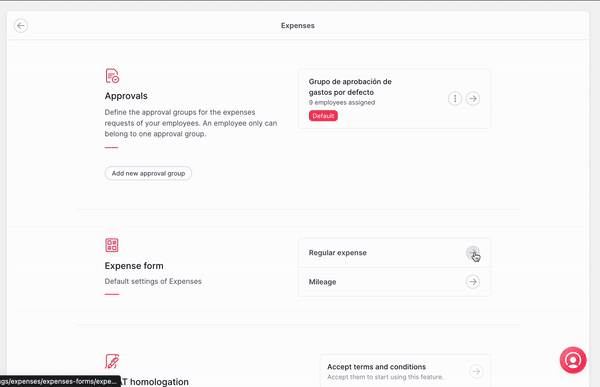
Where to find the Expense form settings?
- Go to Expenses
- Click on the three dots
- Select Go to settings
- Scroll down until Expense form
- A list with all the fields you will be able to manage will appear
Users with permissions can enable these fields so employees can complete them when reporting and expense.
❗️You can customize both, regular & mileage expenses forms.
Add subcategories for regular and mileage expenses forms
You can create subcategories for any category. When reporting an expense, you can select between the options available for the category selected.
❗️Subcategories are available for regular and mileage expenses.
- Once the subcategory is created in a specific category, they will be able to add a new expense with all the information.
- Subcategories are included and shown in reports and exports.
- Expenses can be filtered by subcategories.
How to add subcategories?
- Head to Expenses
- Go to the three dots located in the right corner
- Click on Go to settings
- Select Expense form
- Choose between Regular expense or Mileage
- Scroll down until Subcategories
- Click on the settings icon
- Choose the category
- + Add option, write your subcategory
- Click on Accept
❗️ You can add as many subcategories as you need, and the name can be any of your choices, even an account number. Also, you can edit or delete the subcategories.
Add Cost centers for regular and mileage expenses forms
You no longer need to manually enter cost center information when adding a new expense. The information is automatically retrieved from the employees' profiles. Companies should assign cost centers and dedications to each employee from their employee profile or through Cost center.
🚨 The visibility of cost center information in the expense detail depends on the cost centers' permissions, specifically the "See cost center assignments" context permission.
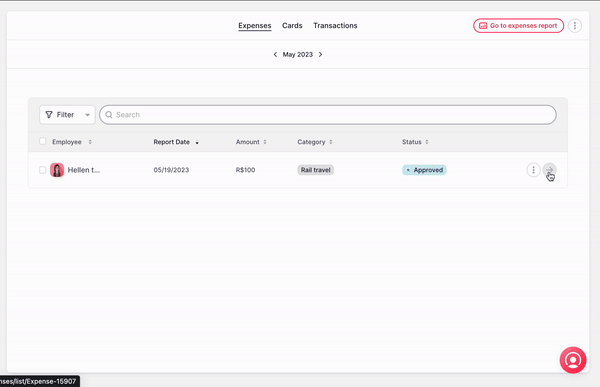
To check the Cost Center of an expense:
- From Expenses
- Choose the expense you want to check the Cost center
- Click on the right arrow
- Review the information
Note: You will find direct access to See cost centers when clicking on the ? icon next to the Cost center field.