From creating a new group to sending it for approval, this article provides step-by-step instructions and valuable insights to streamline your expense management process.
How to create a new group
- On your sidebar, go to My expenses and click on Add
- Select Group
- Enter a Group title. This is mandatory and it will help you to identify the group
- Click on Create
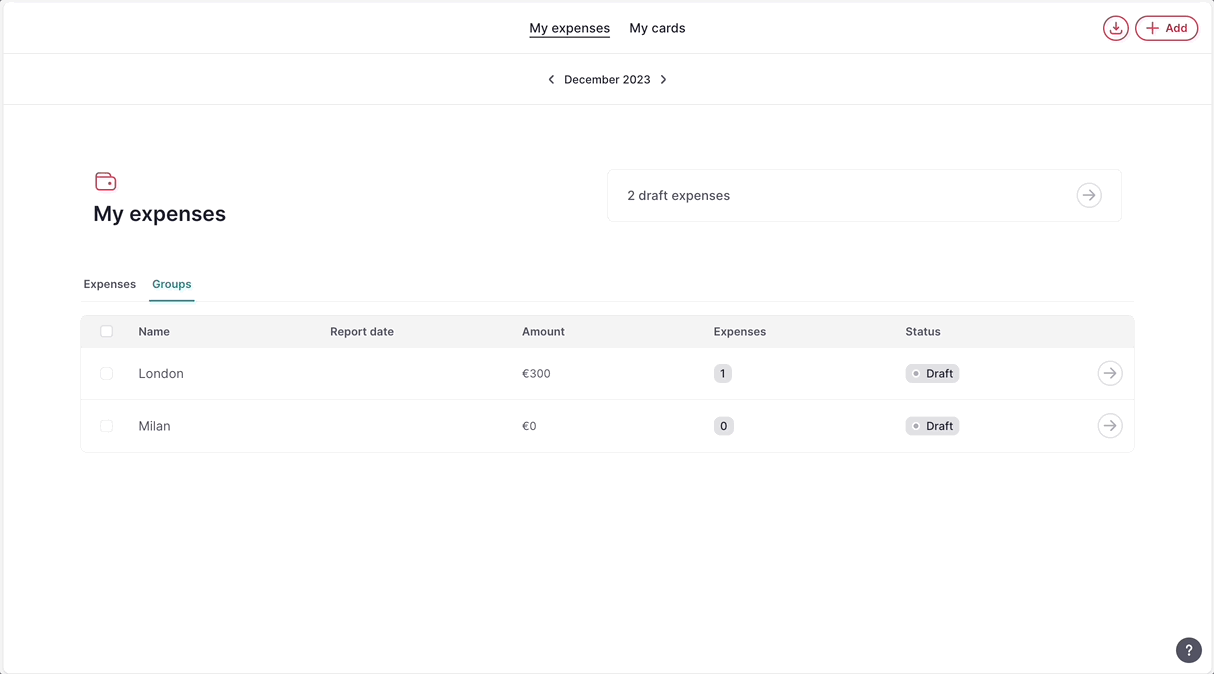
- That’s it! The group is created, and the status is Draft. You just need to add regular or mileage expenses, review the total amount of the group to be reimbursed, and whenever you are ready, send the group for approval.
How to add expenses to the group
There are two ways in which you can add expenses:
- From the expense group:
- Click on + Add expense
- Select either Regular expense or Mileage expense
- Fill in the required information
- From the expenses list:
- Go to the My expenses tab
- Click on the three dots in the row or select as many draft expenses as you want
- Select the option Add to group. A modal will appear to select a draft group or create a new one
❗ If you added an expense by mistake you can:
- Delete any manual expense. Factorial card expenses cannot be deleted but you can remove them from the group.
- Remove from the group any manual or Factorial Card expense. After removing the expenses, you will find them on the Expenses tab.
How to add details to a group
- Open an Expense group
- Click on the card on the right side
- From there you can:
- Edit the group title
- Add or edit a description
- Add documents that validate the group. For example, plane tickets, assistance certificates, etc.
How to send the group for approval
Once your expense group is ready and all the mandatory fields for each expense are completed, you can easily send it for approval just clicking one button:
- Open the Expense group
- Click on Send for approval - in the upper right corner

How to approve or reject an expense group
The expense manager will get only one notification once the spender sent the expense group for approval.
- On your sidebar, go to Expenses and select the Group tab.
- Open a group
- You will see all the expenses that a group includes, the total amount, and the reimbursable and not reimbursable amounts.
- You can:
- Click on Approve or Reject buttons on the top. This will affect all the expenses included in that group.
- Select or open the expense to approve or reject them individually. This means you can reject one expense but approve all others.
❗ After rejecting an expense, you can also delete it if it’s manual. Factorial cards cannot be deleted.