Ensure that your employees take the required breaks by law while also making sure they don't take excessively long breaks. Compliance with labor laws and maintaining productivity are top priorities
How to add breaks
- On your sidebar, go to Settings → Time
- Click on Time Categories
- Scroll down until Break types
- Click on “New break type”
- A pop-up modal will appear:
- Write down the name of the break you are creating
- Choose the type: Paid break, or Unpaid break
- Click on Save

Breaks types cannot be deleted, they can only be archived. This is irreversible and its name cannot be reused for new break types.
How to archive break types
- Click three dots next to the selected Break type, and select Archive
- Click Archive once you are sure, as this action is irreversible

Adding breaks to shifts
Add multiple breaks to shifts. Indicating if they are paid or not
If you want to add a break to an existing shift:
- Select the shift you want to add breaks
- Click Edit shifts in the upper right corner
- In the Shift section, click on add breaks
- Select the break you previously created
- Choose between:
- Flexible
- Semiflexible: breaks with a duration
- Fixed: breaks with a specific start and end time
- Click on edit shift to save

Breaks and Time tracking
Enable breaks in Time Tracking
- Go to Settings
- Scroll down until Time
- Select Time Tracking
- Choose the policy you want to add breaks
- Click on the Breaks section
- Enable breaks
All of the breaks you have created will appear here, enable the ones you want
.gif)
Adding breaks to an employee’s timesheet
- From your side-bar menu, go to Time Tracking
- Select an employee
- Choose a date, and click on + Add
- Fill in the Shift information, and add a Break
- Click in Apply
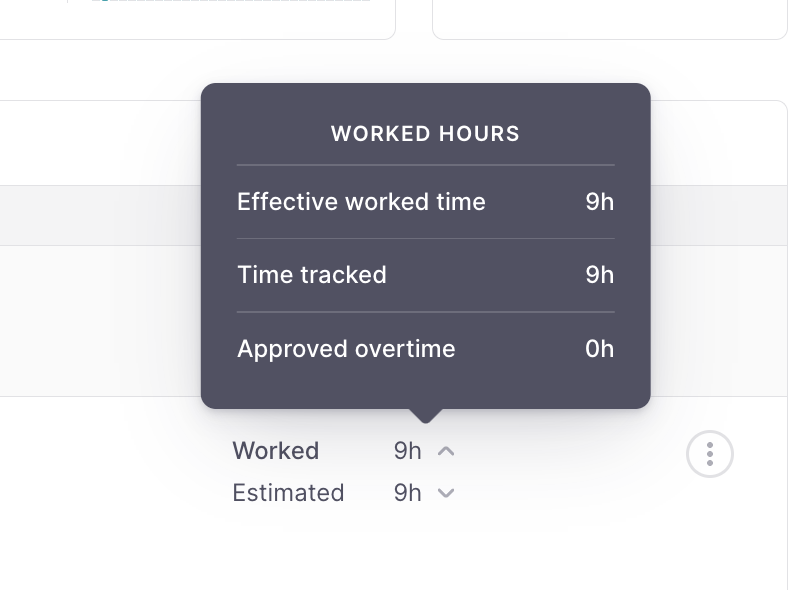
Track your employee’s effective worked time

By using Breaks in Time Tracking, you'll be able to track your employees' productive work hours and monitor the breaks that have taken.
How to register a break from your desktop
From the Clock in widget
- From your Dashboard
- Go to the Clock-in section
- Click on Break
- Choose between the types of breaks you previously created. For example: Coffee break
- Once your break is over, click on Go back to work
Keep in mind that to register for a break you must be clocked in

From the timesheet
- From your sidebar menu
- Go to Clock in
- Choose the day in which you want to add the break
- Click in + Add
- Select Break
- Fill in the time and the Type of break
- Click in Apply
How to register a break from your mobile app
- From the Clock-in section
- Click on Break
- Choose between the types of breaks you previously created. For example: Coffee break
- Once your break is over Slide to Get Back to work

The employee will get an alert if the break doesn’t comply with the defined policy.