Approval flows allow you to define who must review and authorize software card requests before they are issued. You can set up multi-level approvals and assign employees to specific groups according to your company’s needs.
By default, an automatic approval flow is set up for all employees. This implies that resources will be automatically approved.
To create a new Approval Group
- On your sidebar, go to Settings
- Scroll down to Finance and select Software
- In Approval, click on Add new approval group
- Add an Approval group name and a Description
- If for this approval group, you want resources automatically approved, enable the option Auto-approval group
- Click on Save approval group

To define the approval flow
The approval flow is structured in levels:
- One or more approvers are assigned to each level
- To move to the next level, the approvers of the previous level must approve the request
By default, the admin is the approver of the first approval level.
To create a new approval level:
- Click on Add approval level
- Select the Approver type and the Approver
- Click on Save approval level
- Click on Save changes - Located in the upper right corner

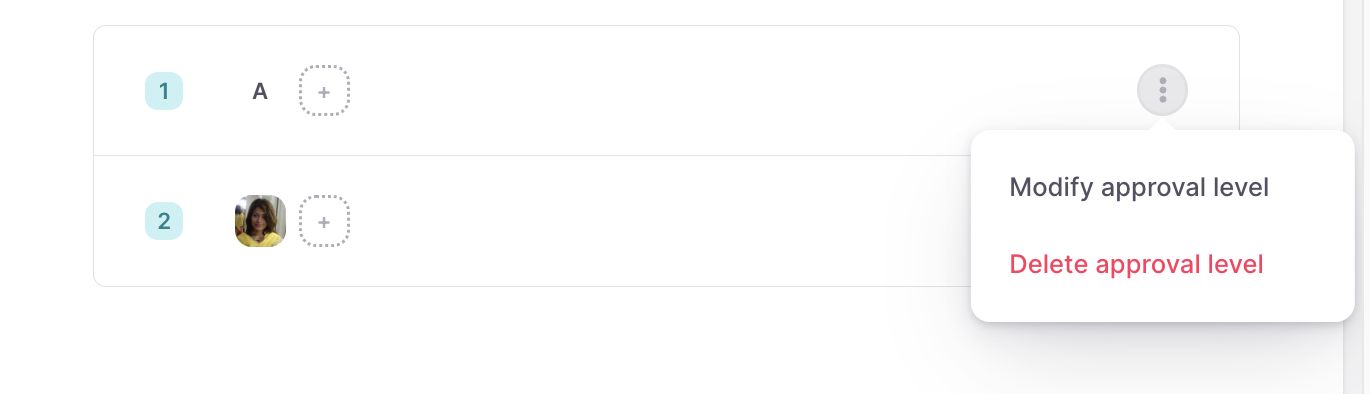
You can add other approvers to the same approval level by just clicking on the plus icon.
You can edit or delete the approval level just by clicking the three dots icon.
To add employees to the approval flow
Once you defined the approval flow, you are ready to assign the employees:
- Head to the Employees tab
- Click on the Add Employees located in the upper right corner
- Select the people
- Hit Add employees to the approval group

To approve or reject a software card request
The approvers are always notified via notification and email.
Approve or reject a request from the Inbox section
All the requests received can be found in the Inbox section of Factorial:
- On your sidebar, go to Inbox
- Click on Requests
- There, you will find all of the received requests
You can:
- Click the arrow icon for further details regarding the request
- Easily reject or approve the request by clicking on the respective button. Please note that if you reject the request, you will need to provide a reason for the rejection.
Approval notifications
The creator of the request will receive notifications and emails informing them of the actions to be taken and the status.
Users can also check the status of the request in the Software app by opening the relevant software.
