If you are using Factorial in US English, note that the term Agreements is used in place of contracts. The functionality remains the same.
The contract approval system enables you to create a personalized process for approving new promotions. It ensures that all the new conditions are reviewed and approved promptly.
❗To effectively configure the contract approval system, it is essential to ensure that you have the necessary permissions to edit the contract settings.
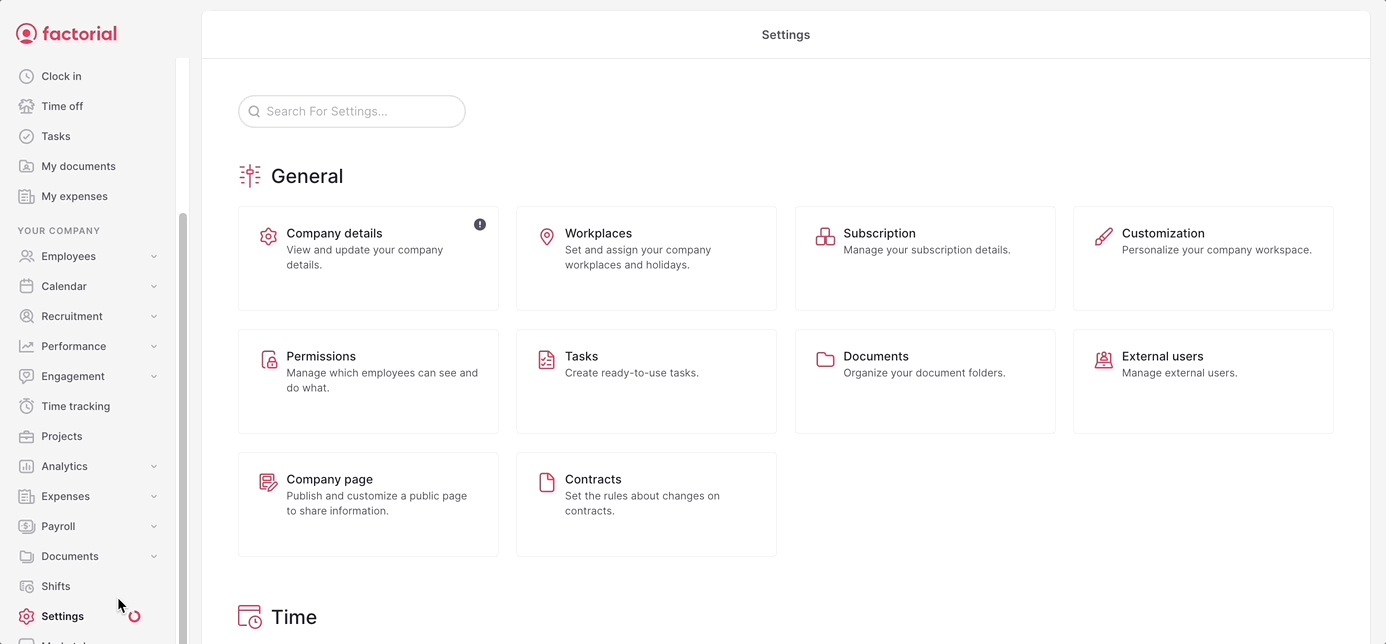
Where to find the contracts approval system?
- On your sidebar, go to Settings
- In General, click on Contracts
How to create contract approvals
💡 Factorial provides a default approval group for all permissions (promote and edit) to assist with configuration. However, it is possible to choose to edit this group or create a new one.
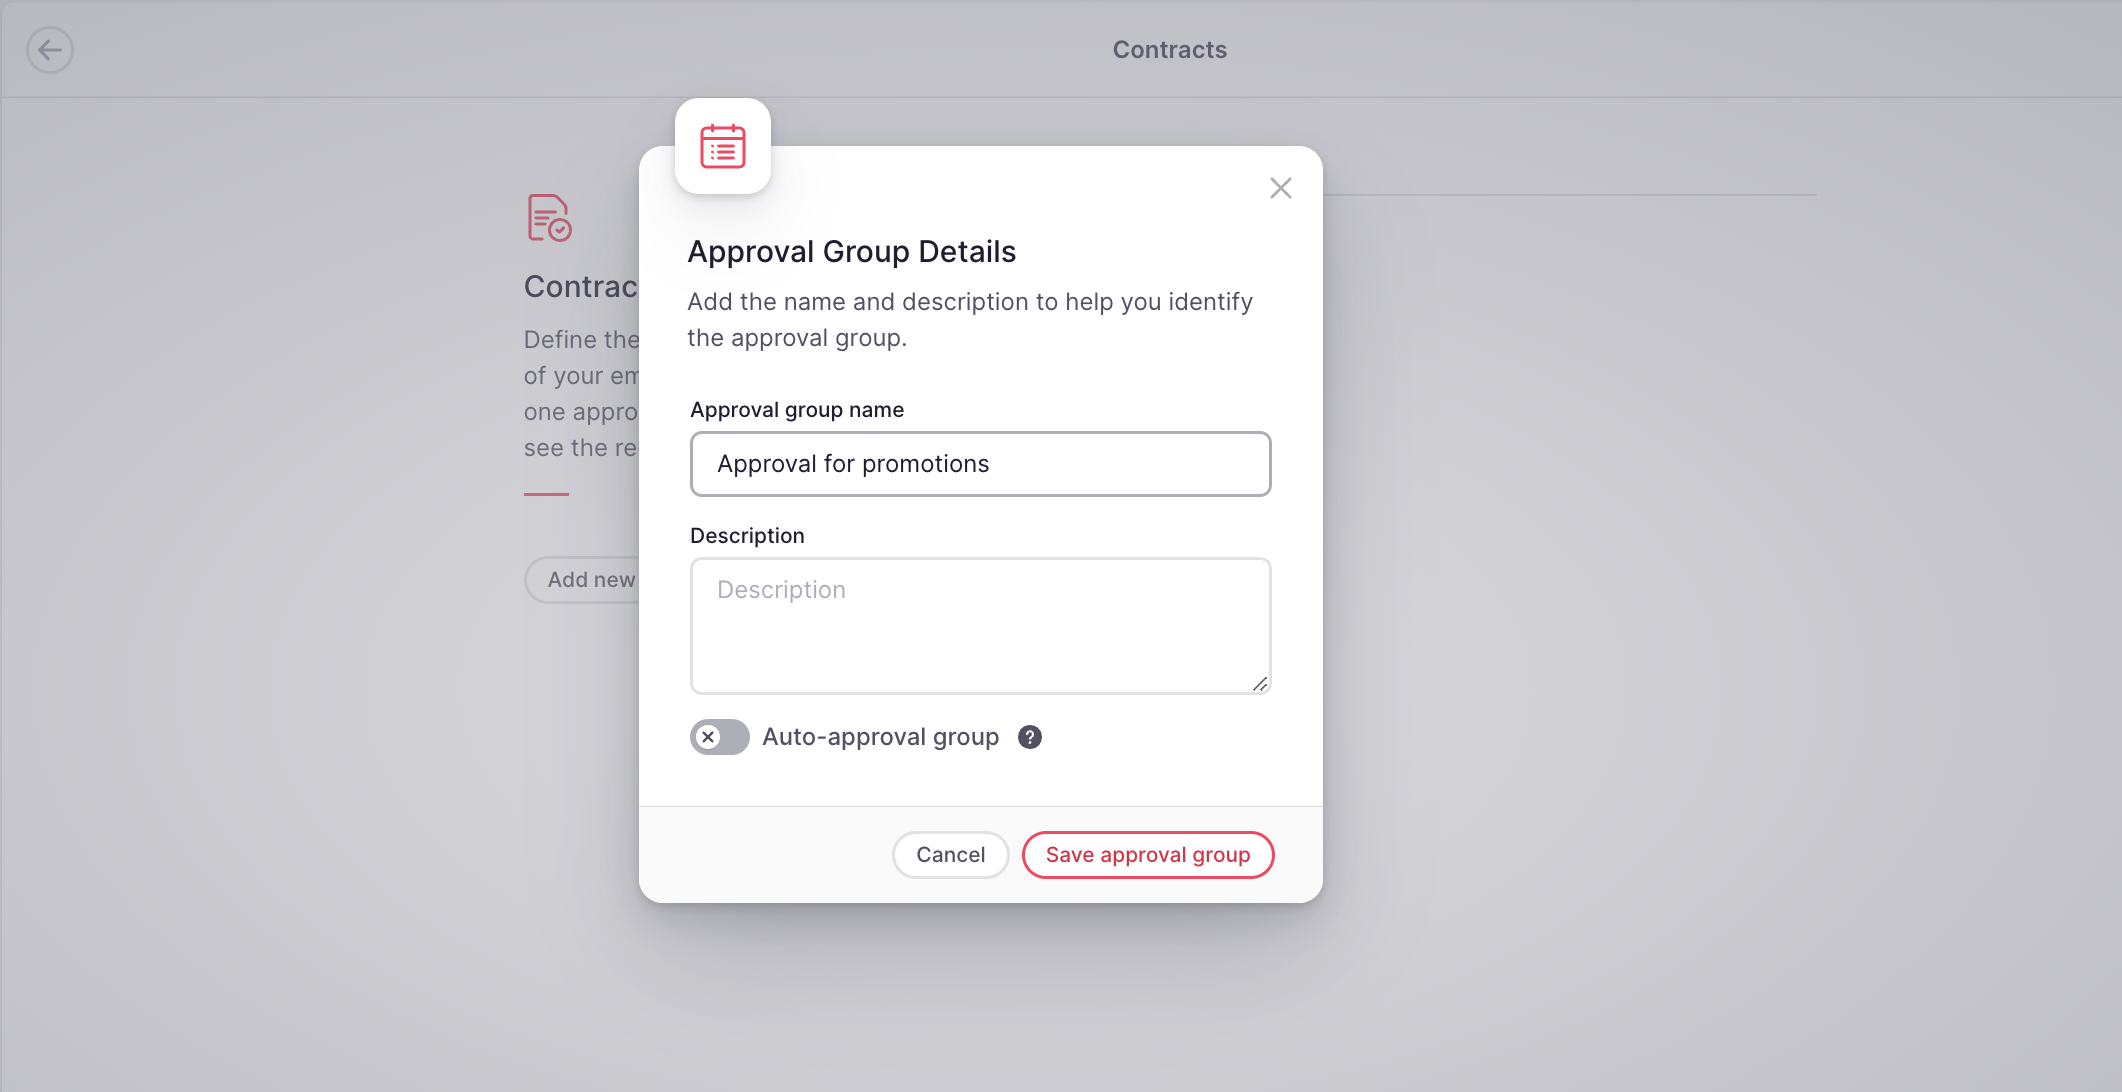
Create a new approval group:
💡 Factorial automatically creates groups for all users. Before deciding to create new approval groups, you can review the ones already created:
- Default: this group has only one level of approval.
- Autoapprovers: this group is for users who don't need any approval to edit contracts.
- From the Contracts settings, click on Add new approval group
- Define a name and a description (optional)
- If you flag Auto-approval group, the employees within the group will have resources automatically approved and won't see the request.
- Click on Save approval group
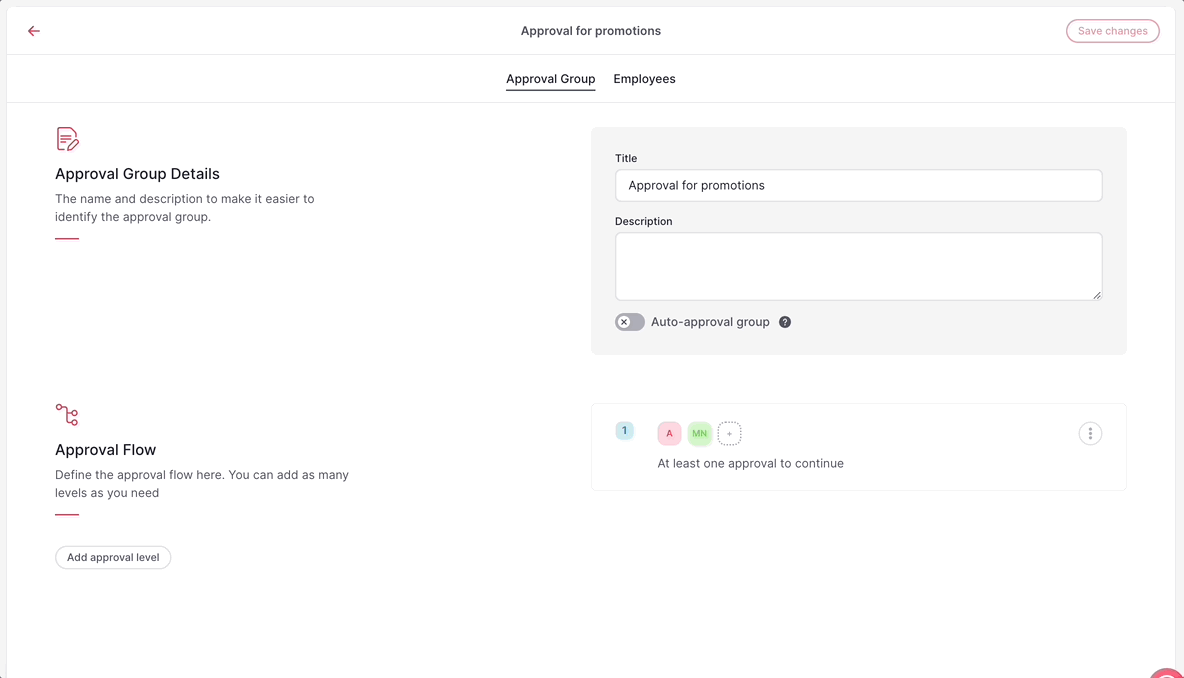
Define the Approval flow:
The contract approval flow is structured in levels:
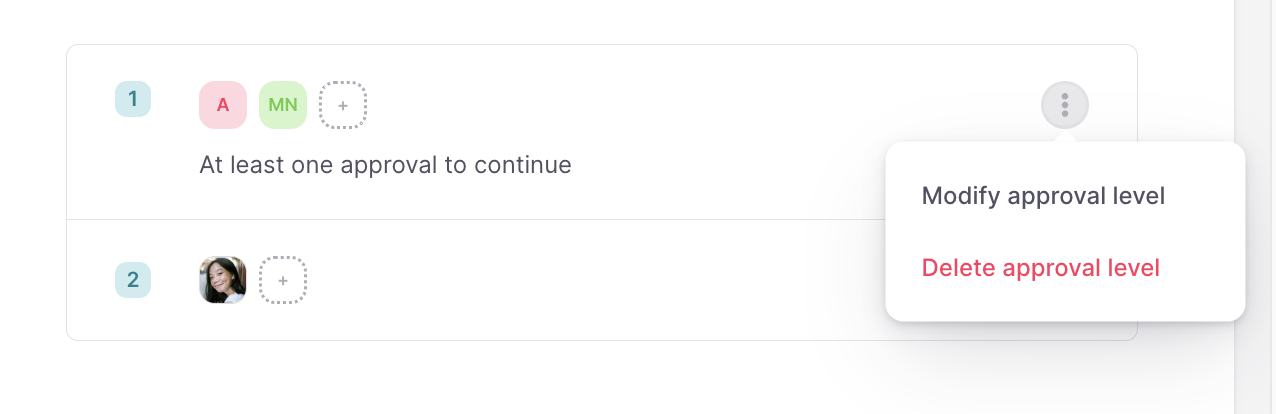
- One approver is assigned to each level
- To move to the next level, the approver of the previous level must approve the request
To create a new approval level:
- Click on Add approval level
- Select the Approver type and the Approver
- Click on Save approval level
- Click on Save changes - Located in the upper right corner
💡 You can modify or delete the approval level just by clicking the three dots icon.
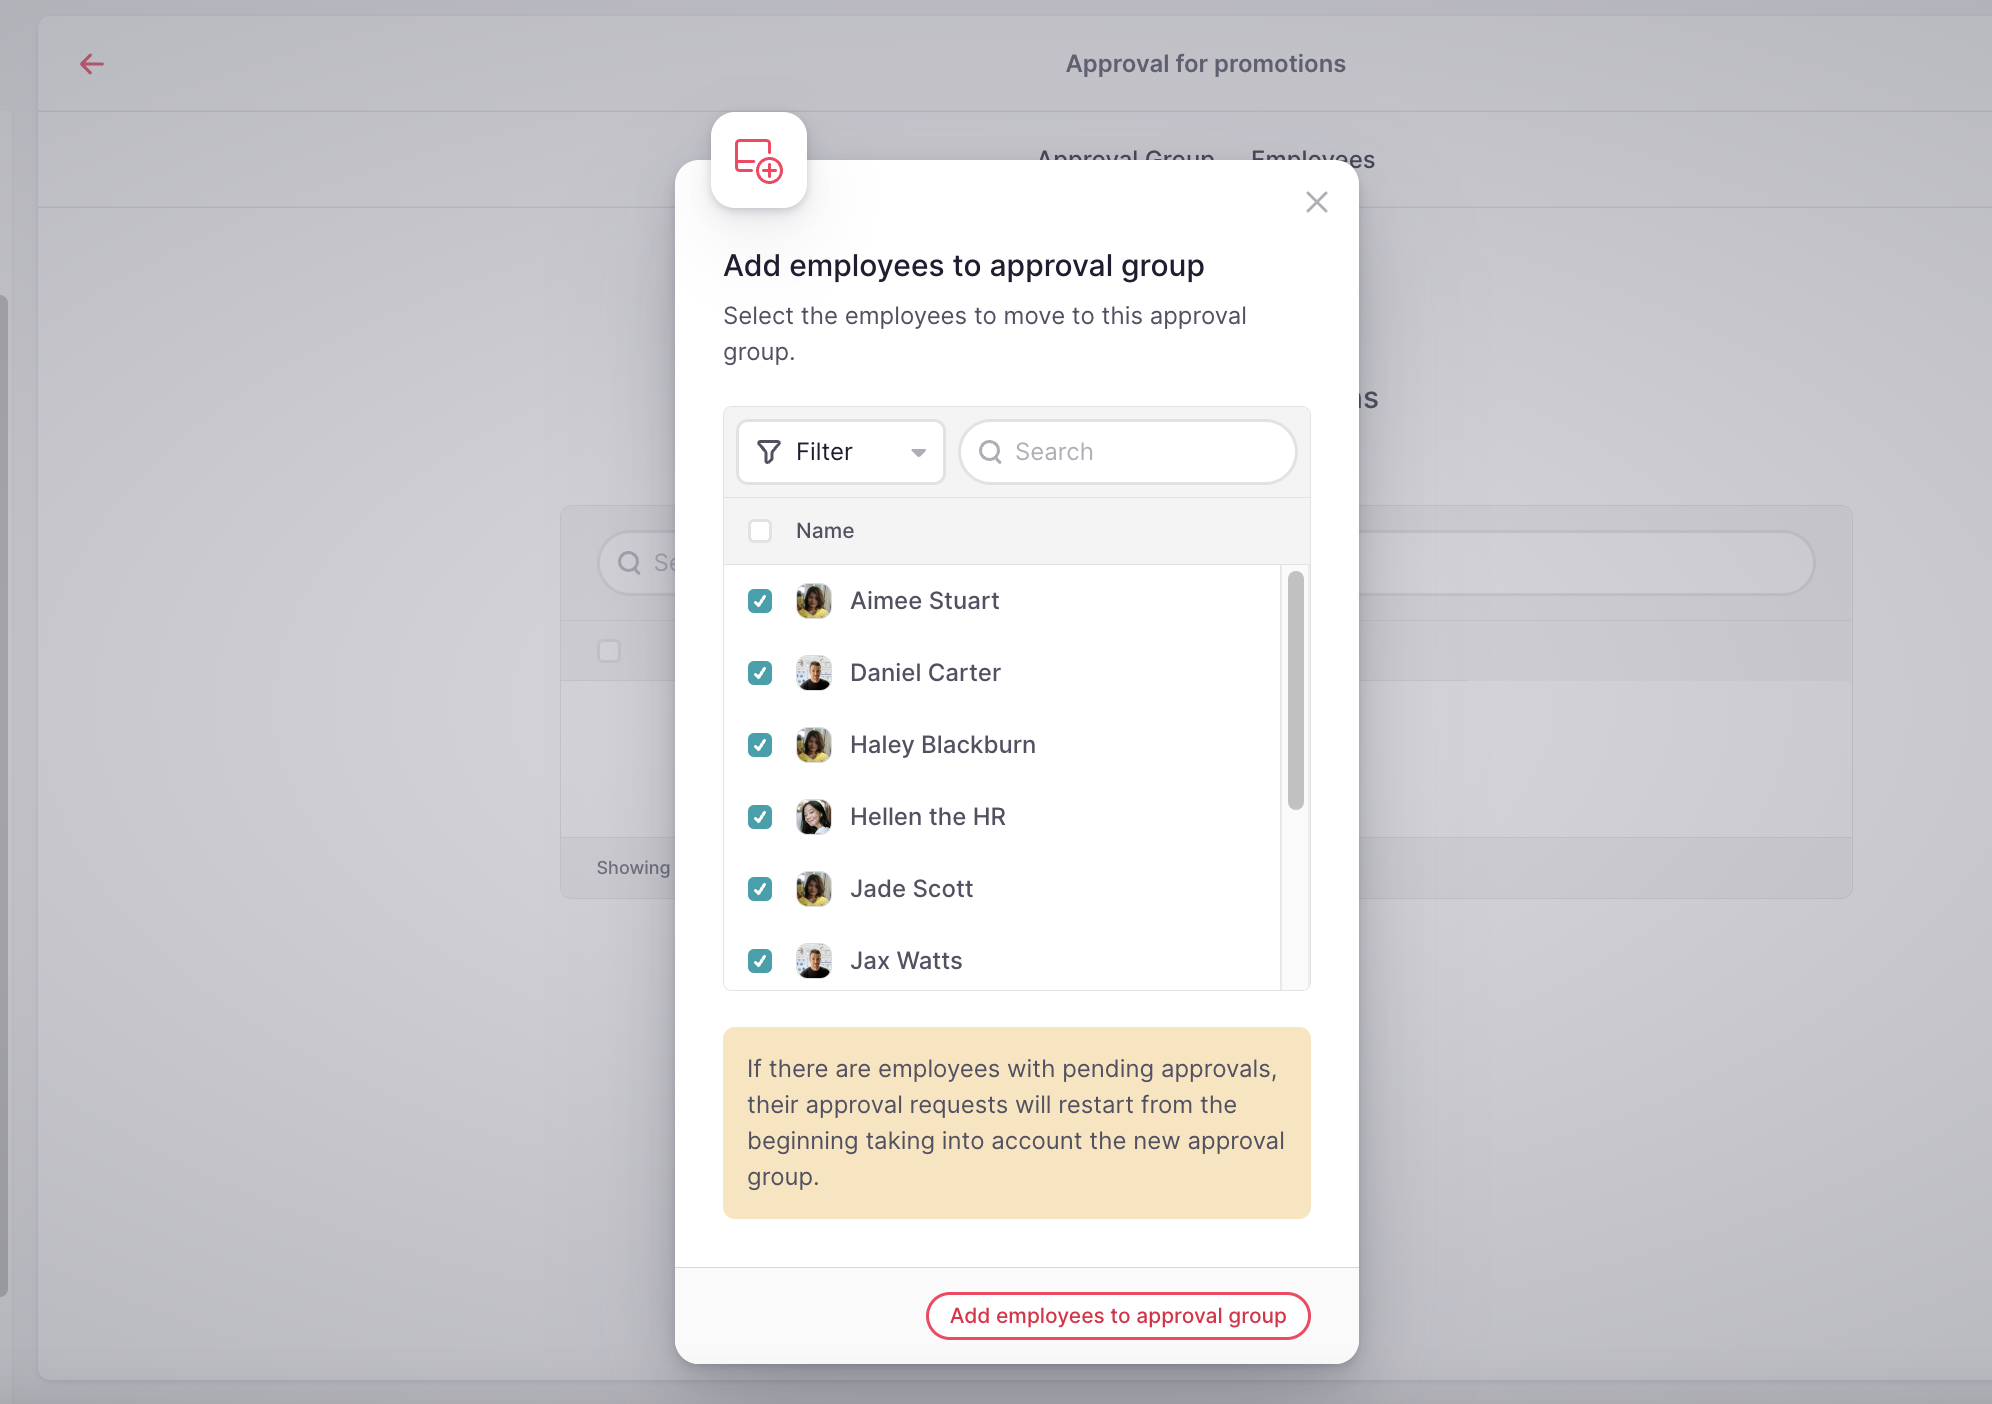
Add employees
Once you defined the approval flow, you are ready to assign the employees:
- Head to the Employees tab
- Click on the + icon located in the upper right corner
- Select the employees
- Hit Add employees to approval group
❗The users who need to be in the group are those who have to perform the action, for example, a manager who has to promote an employee, but not the owner of the contract.
How does the approval system work?
When an employee is promoted, a notification will be sent to the approver. The approver will be able to decide whether to approve or reject the request.
To send the request:
🚨 Only individuals with the following active permissions will be able to submit requests:
- Edit contracts: updates and fixes
- Promote
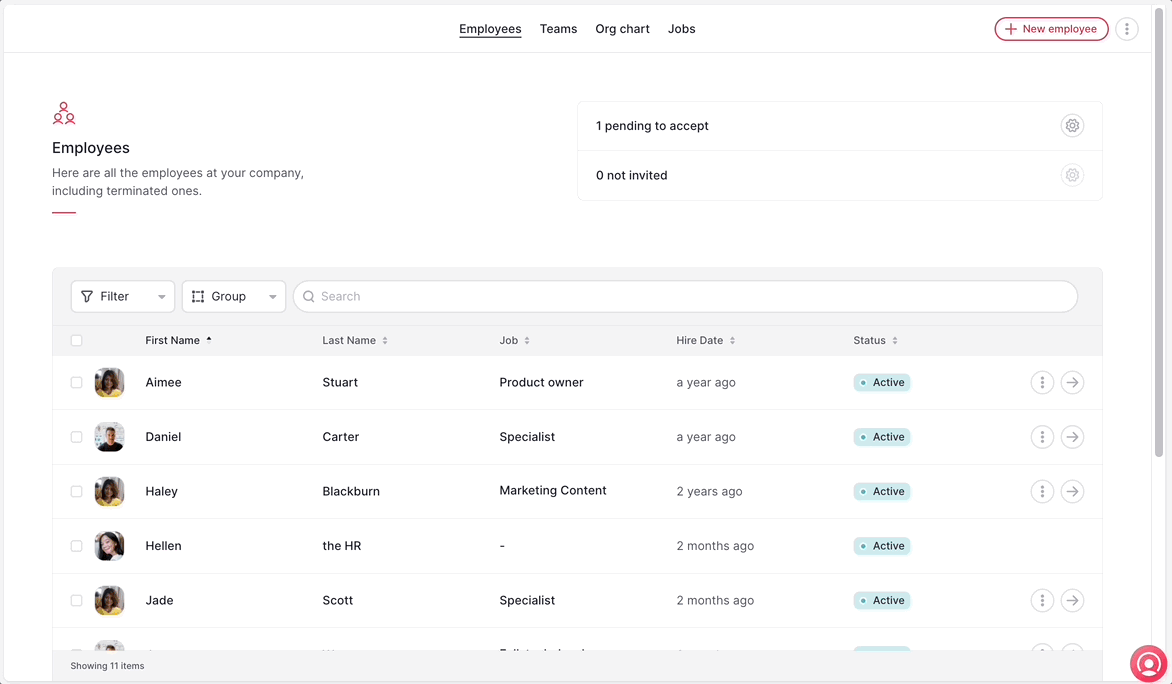
- On your sidebar, go to Employees
- Select the employee
- Open the Contracts tab
- Click on New conditions
- Choose between:
- Promote: update only role and salary
- Click on Next
- Fill in the fields
- Click on Submit promotion request
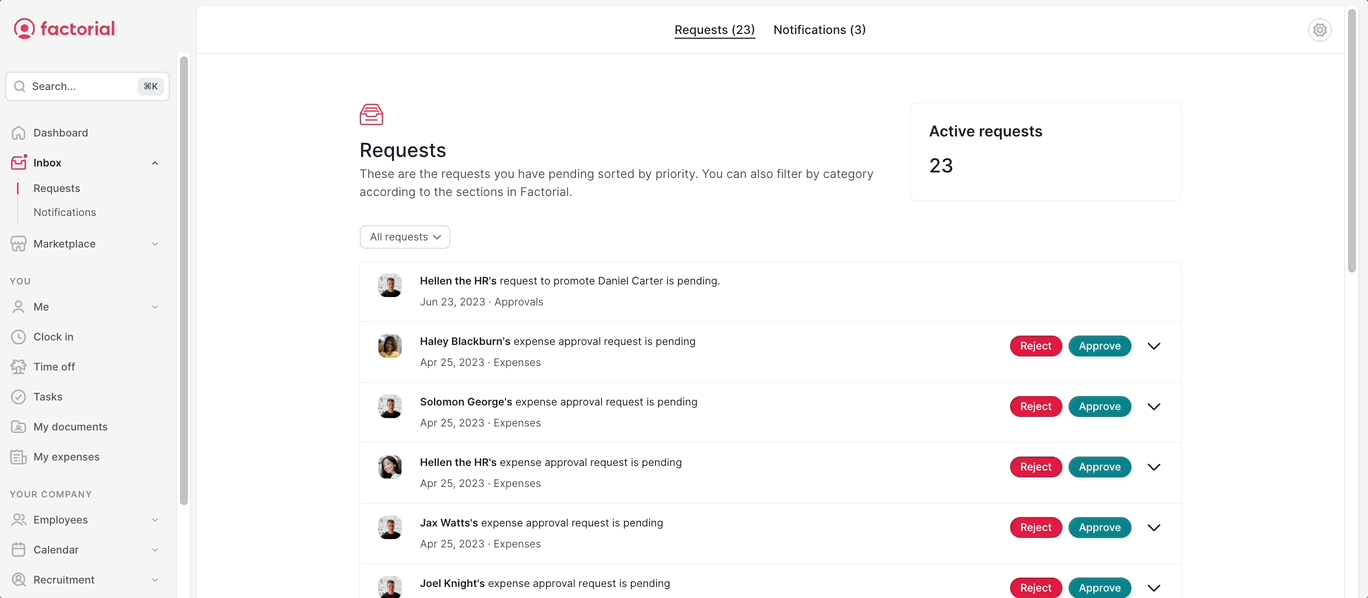
To accept or reject the request:
The approver will receive a notification in the Inbox:
- On your sidebar, click on Inbox
- Open the corresponding notification to view more details
- Click on Reject or Approve
💡 By clicking on Reject, the request will be rejected and the process will end.
🚨 There can only be one contract request at a time. It is not possible to modify or add new conditions if there is a pending request.
- The requester will receive a notification every time an approver approves or rejects the new contract
- The employee will receive a notification only when the request is approved and from the effective date.